The front starts to look more finished
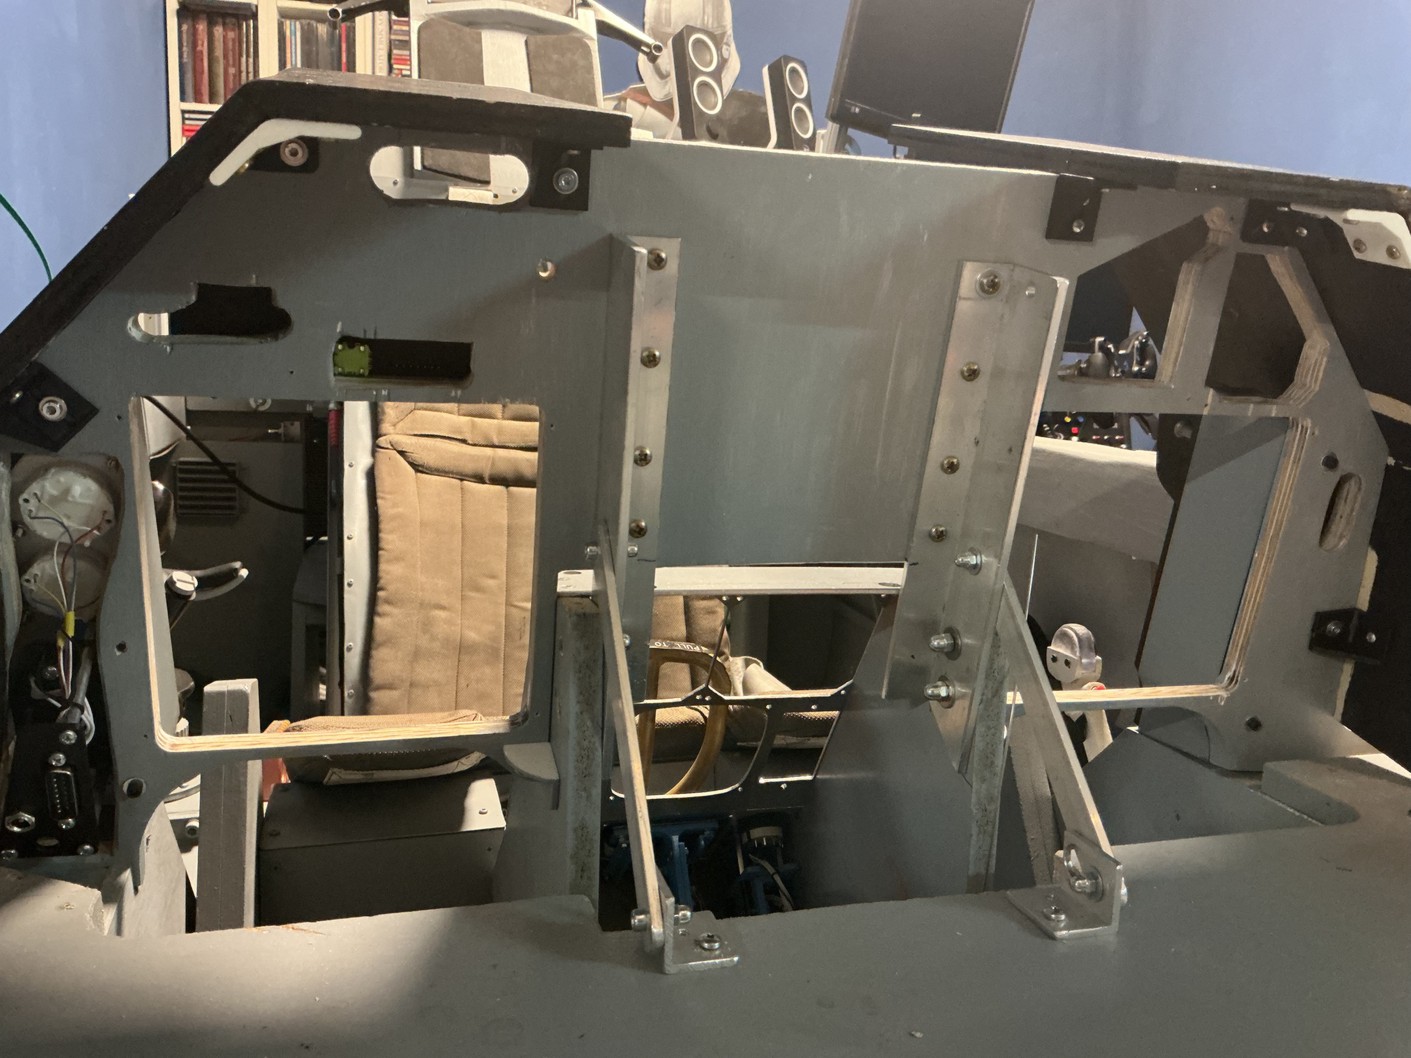
My glareshields are still the parts I built 20 years ago – and are still going strong.
But now it was time to redo the parts the attach to it.
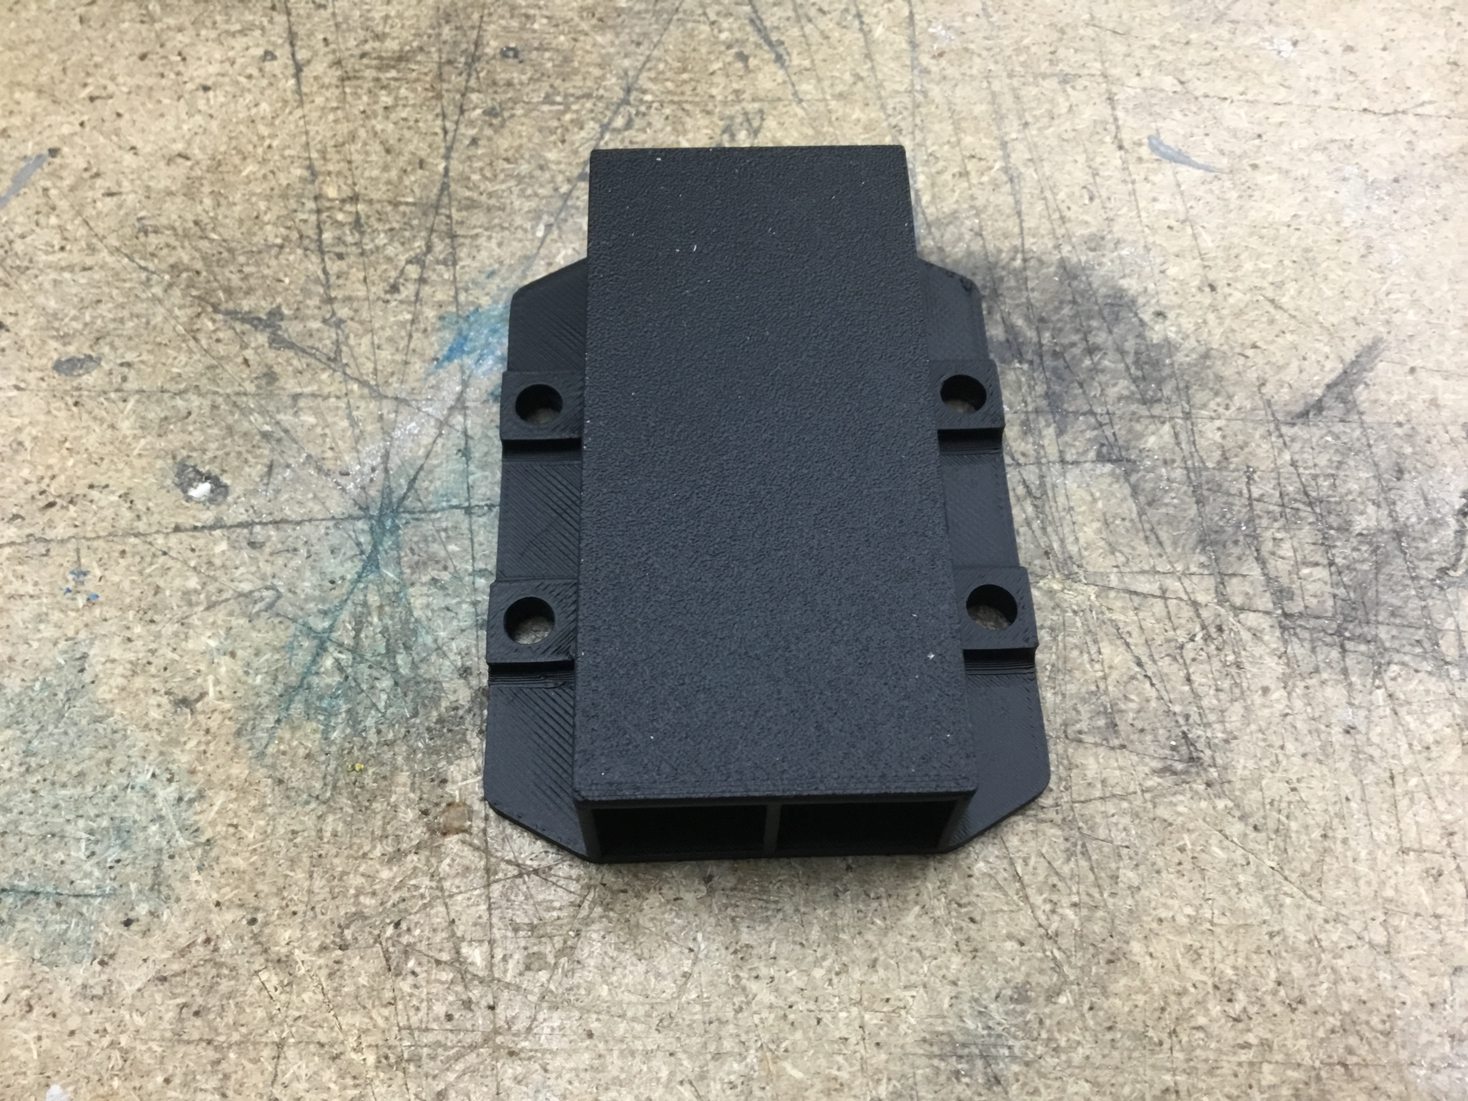
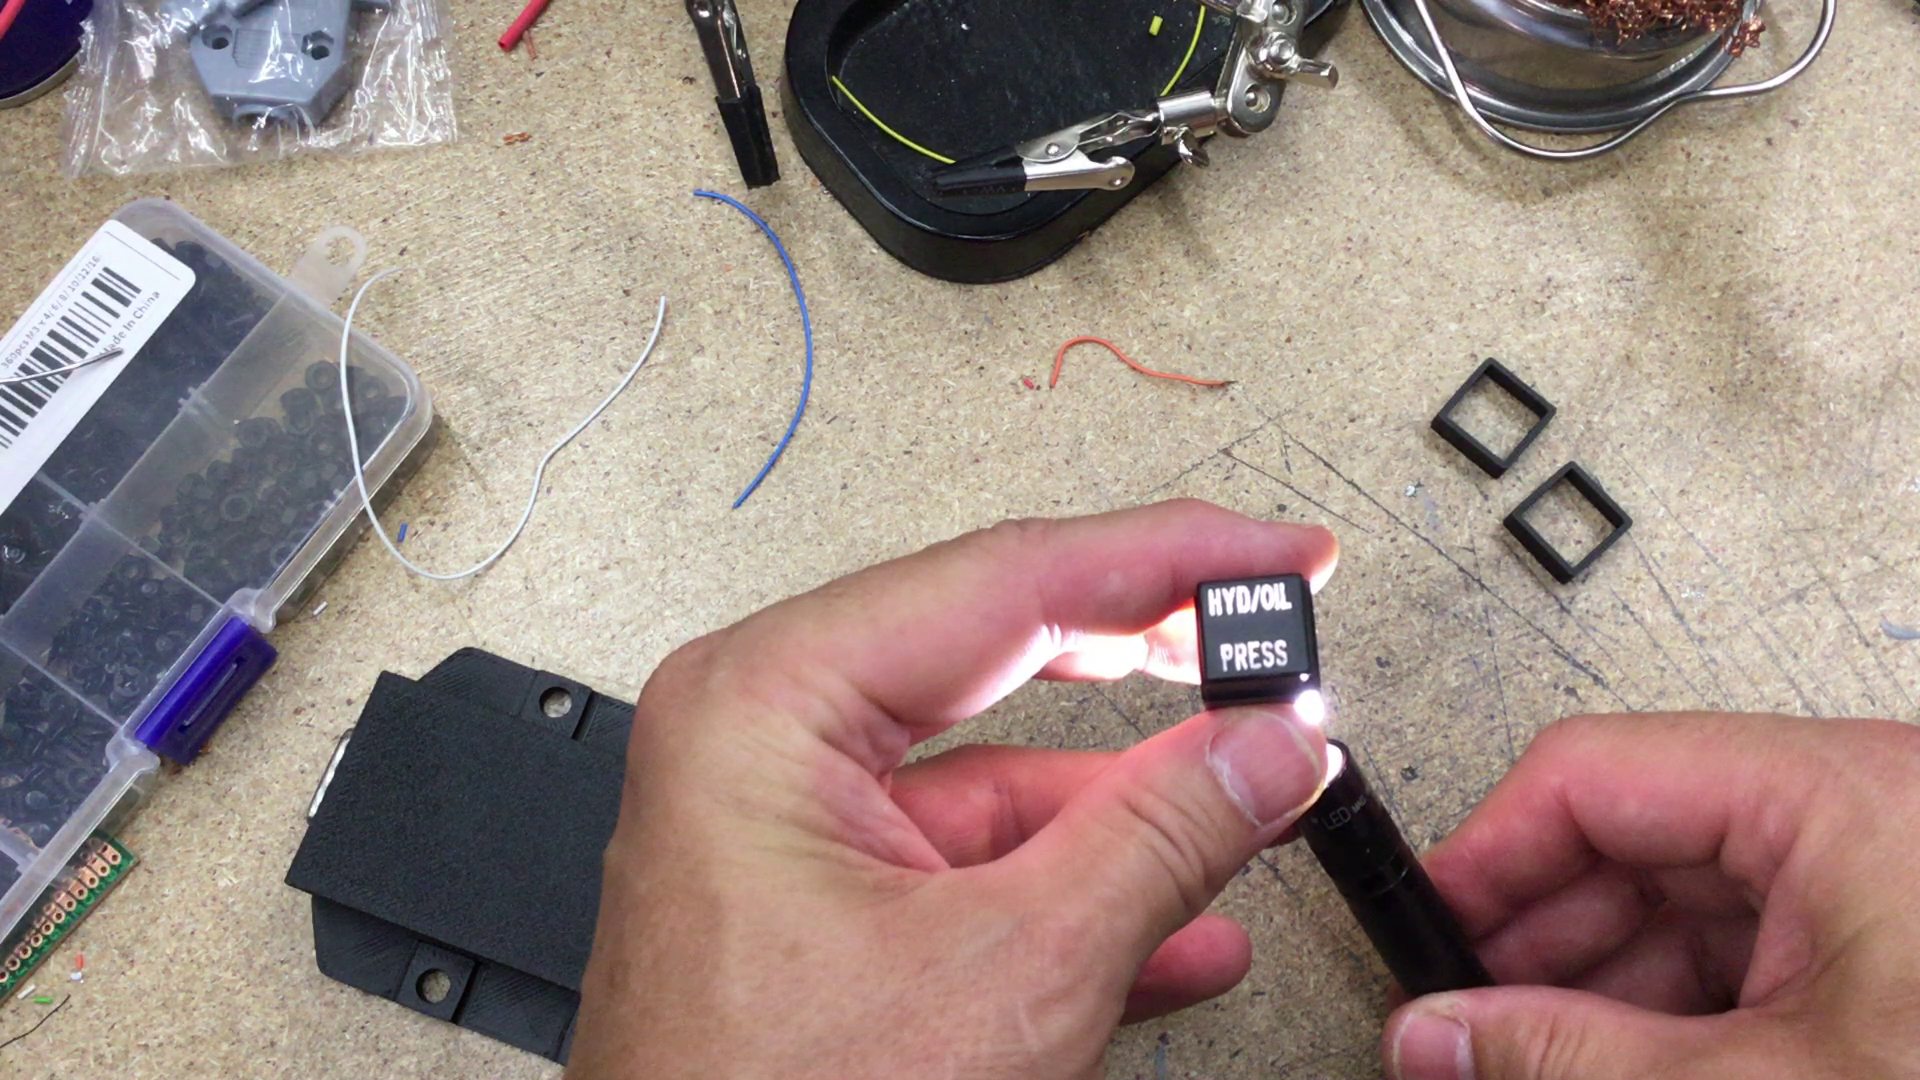
The “Eyebrows” Warning Lamps
Those warning lamps are available on the left – with 2 segments – and on the right glareshield with 5 segments
Building one is the same for the other: the LEDs for eacht lamp get set in the housing and are soldered to the DB connector in the back.
In the holes inside the housing and on the sides heat inserts are installed, so the components can be bolted to the glareshields from above.



The Floodlight
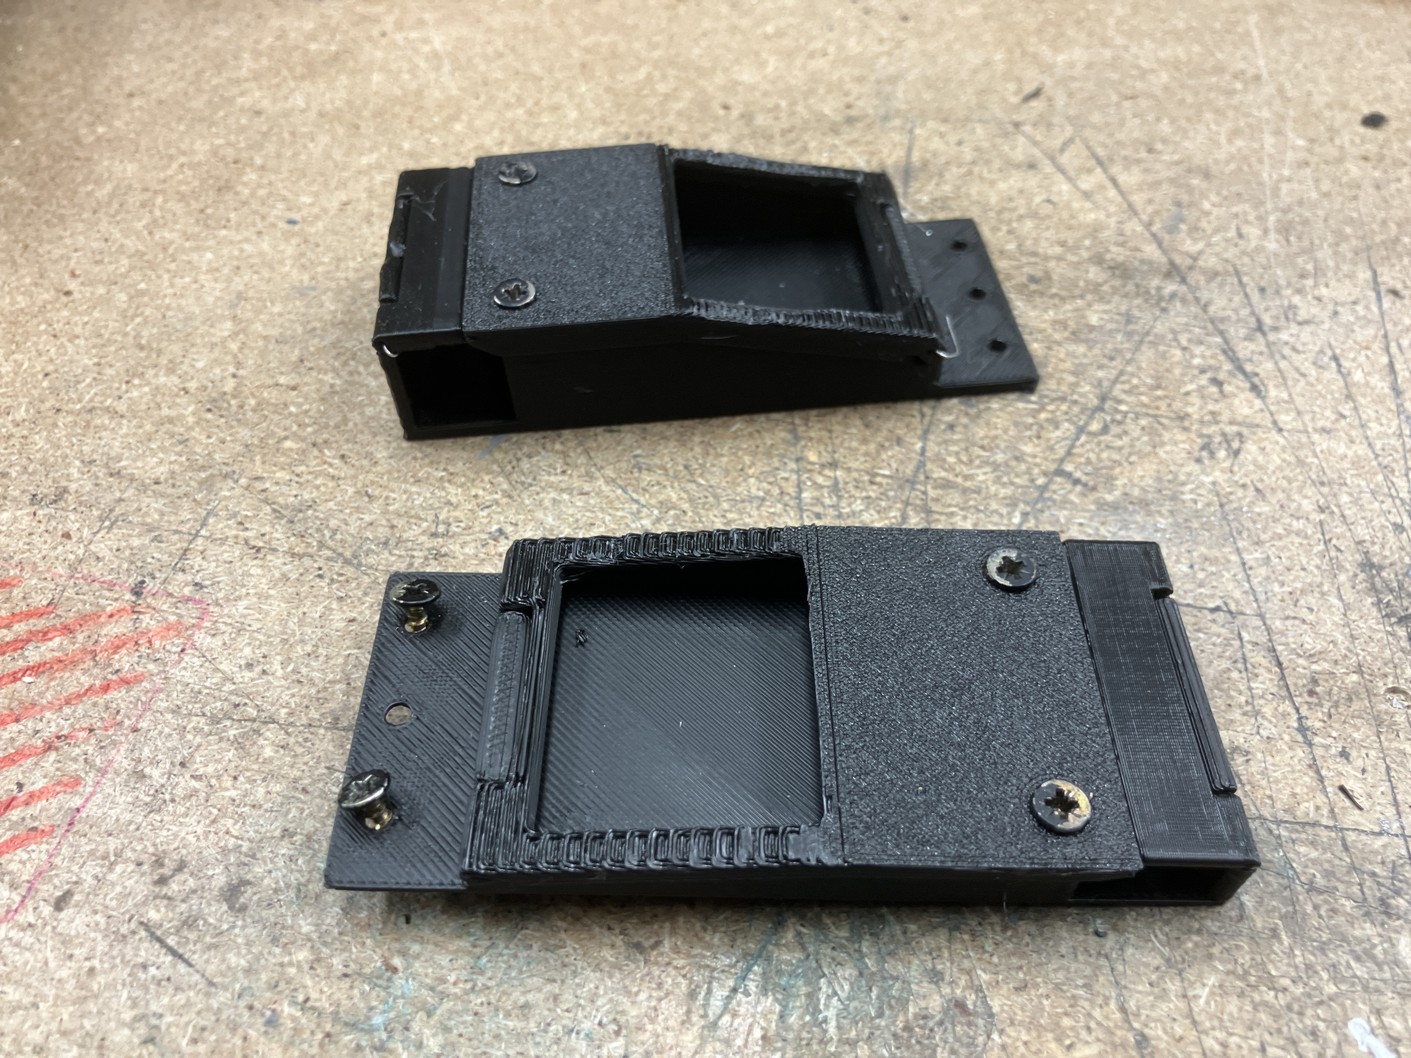
Both floodlights – one on the small glareshield and one on the left – are usually the same part.
But to enhance the view to the RWR I decided to shrink the left one in it’s height.
Since I don’t use lamps but LED strips like in my Console lights the small height doesn’t matter.
The openings get closed with 1mm acrylic which I sand with 600 grit sandpaper to help diffusing the light.
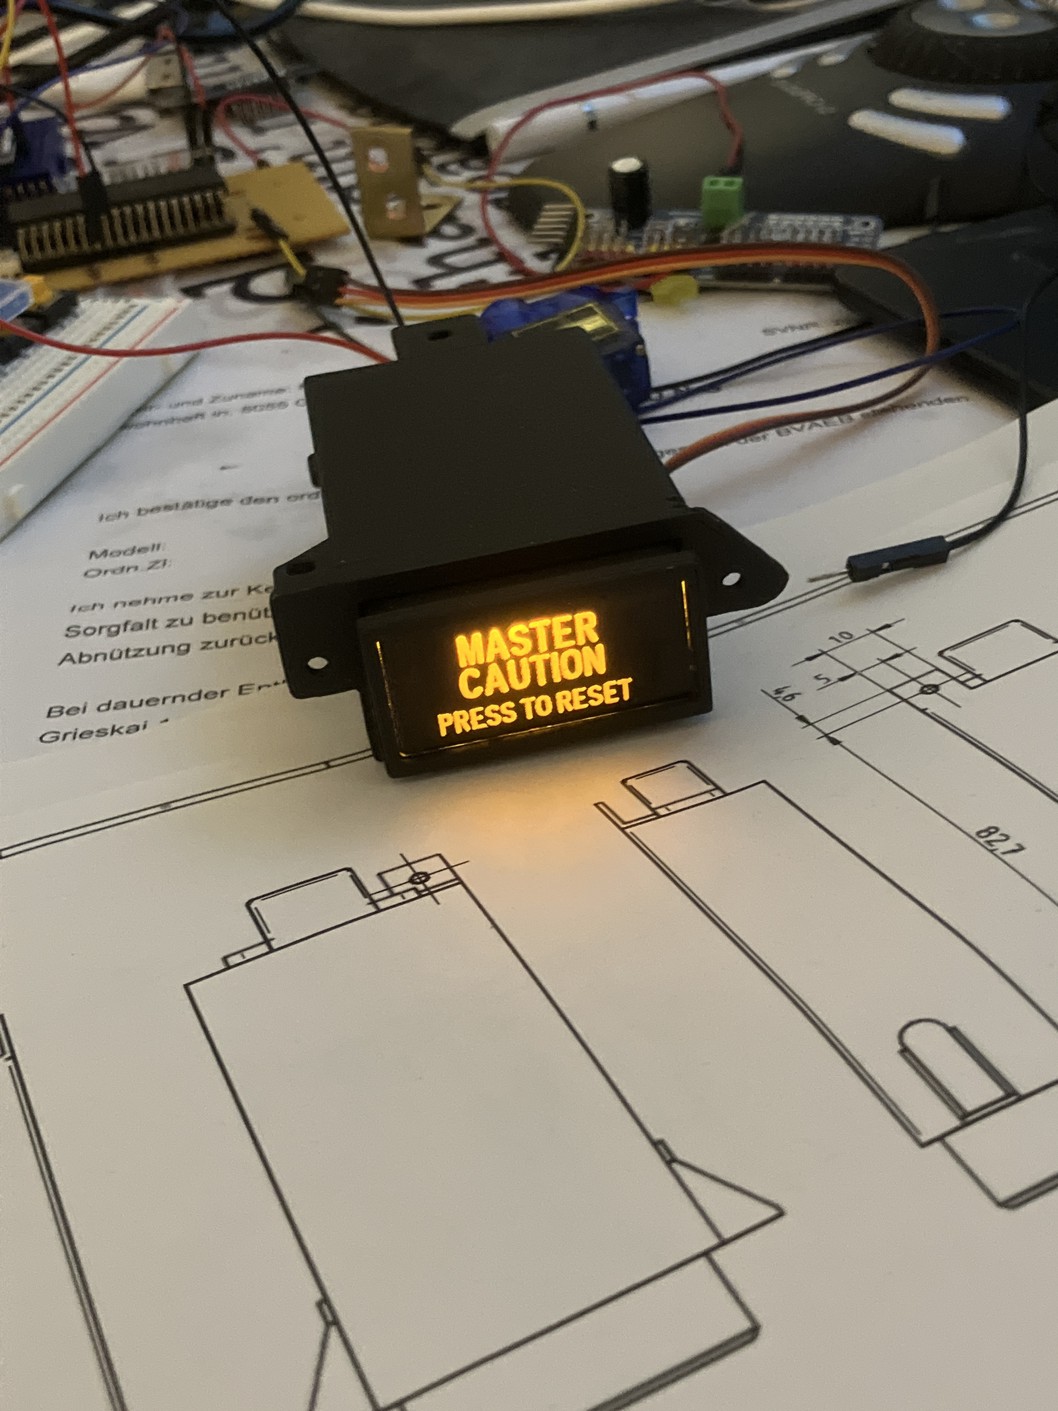
The MasterCaution Button
My old MC version was a button from an arcade. That worked pretty well, but was too big and now all needed parts won’t fit on the glareshield.
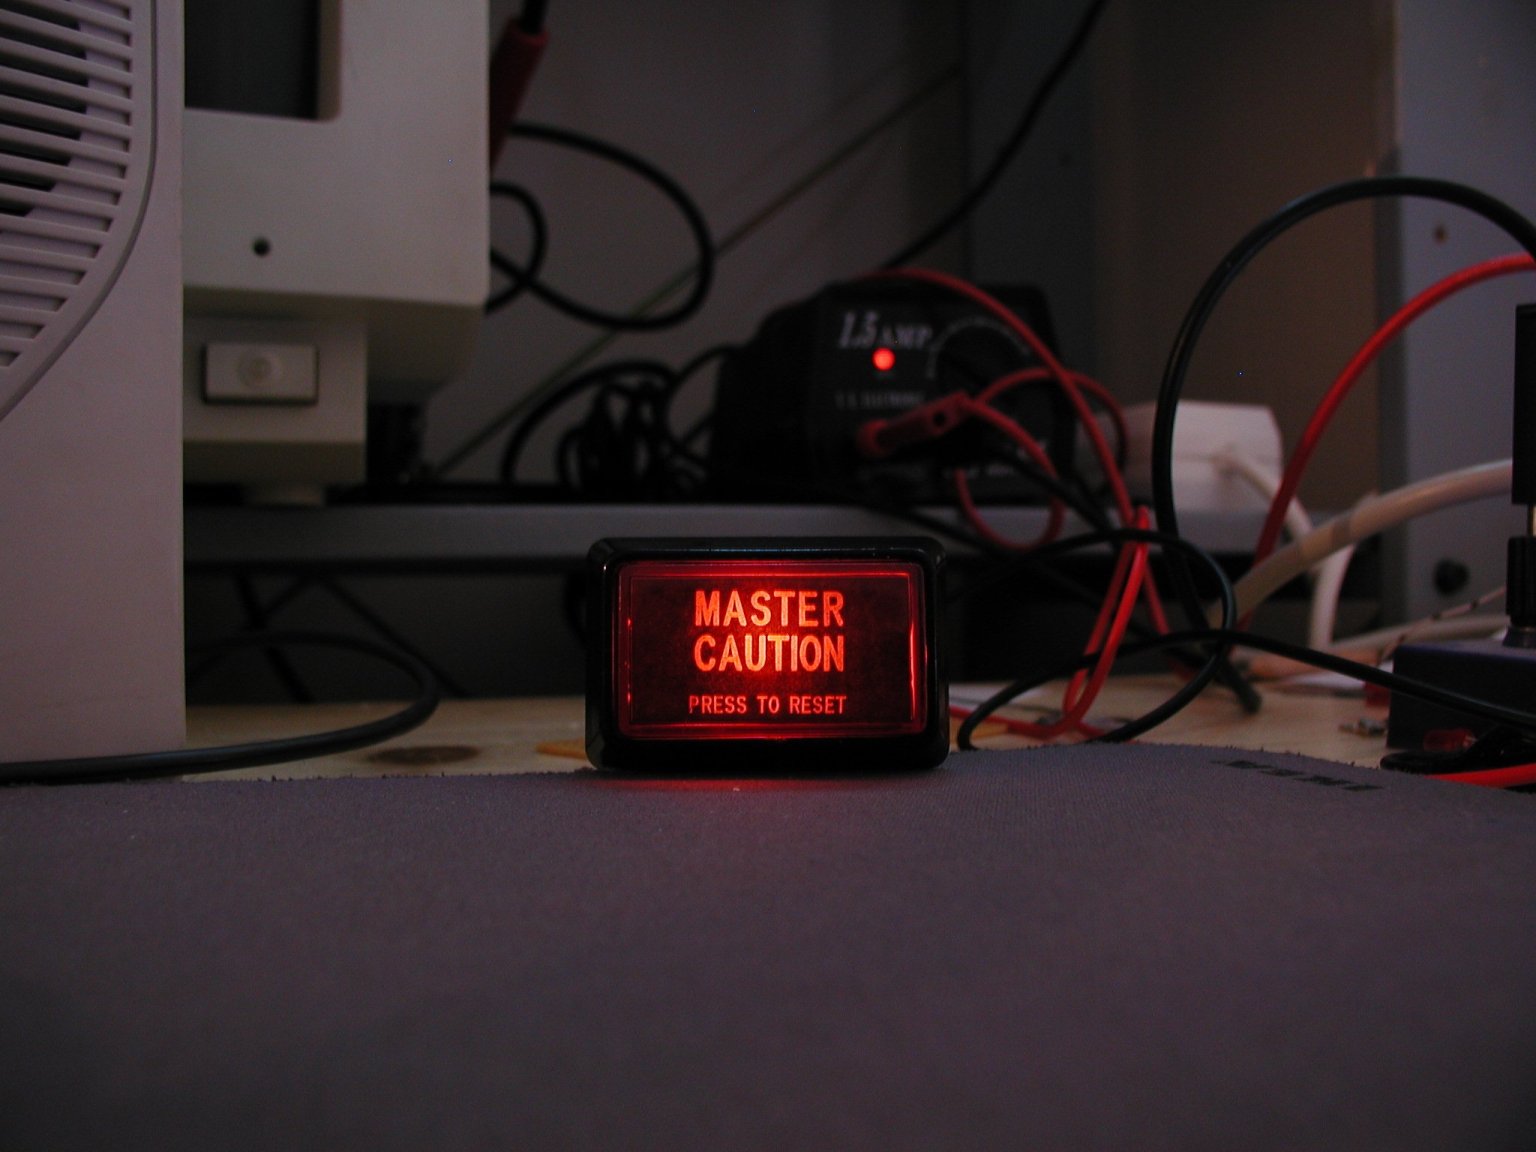
As always I did my research, started FreeCAD, designed and printed and it ended in a pretty neat copy of the original
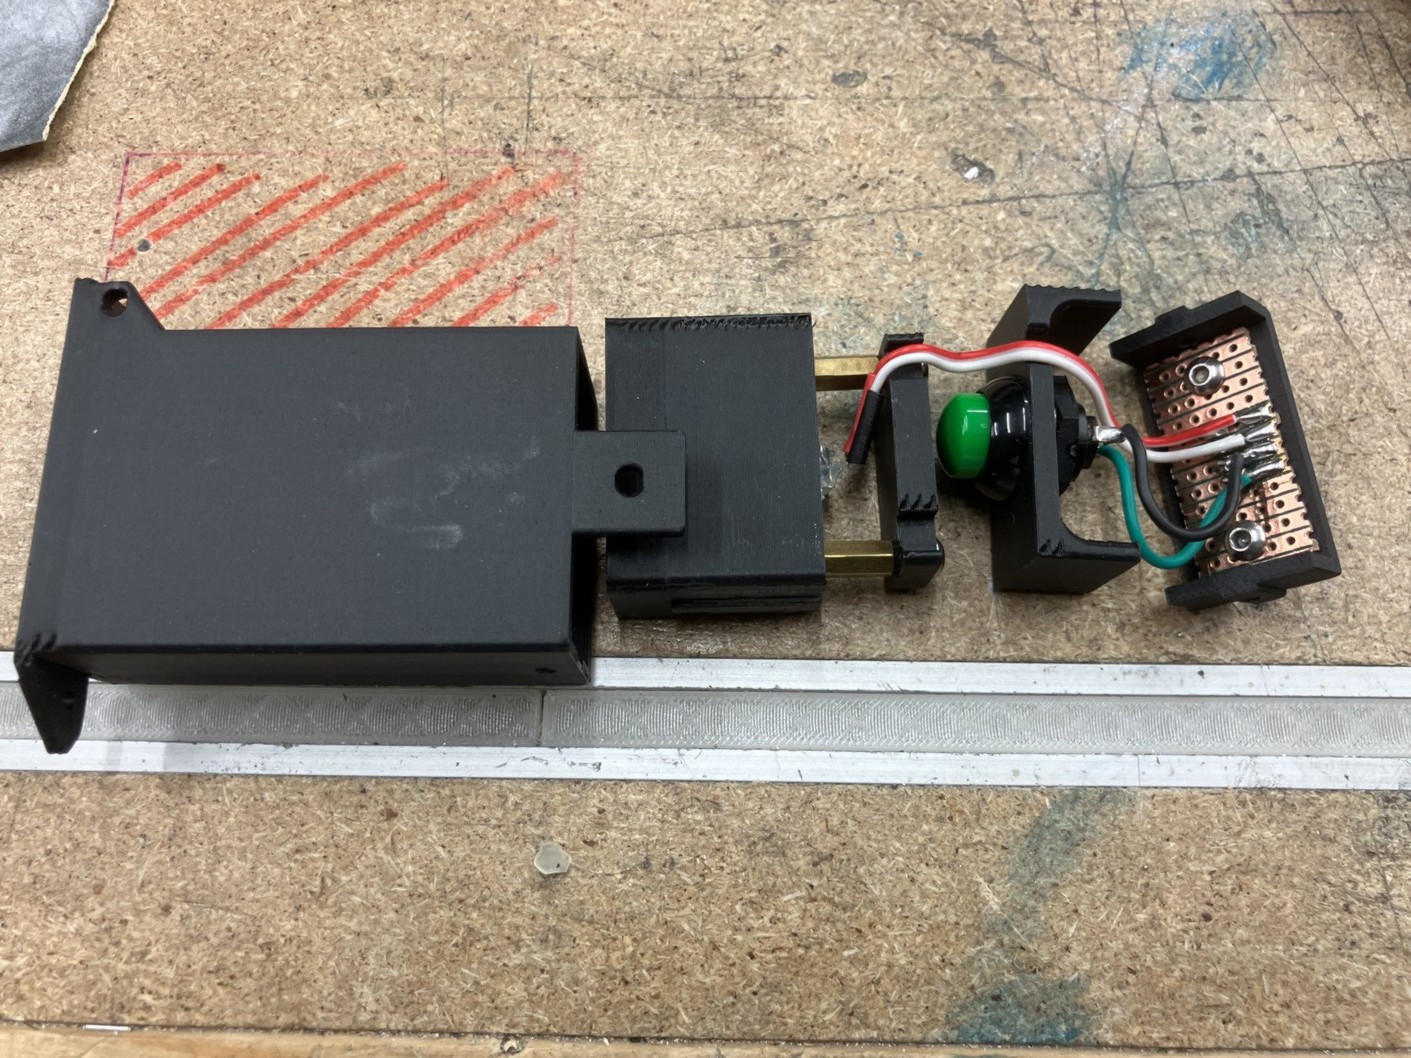

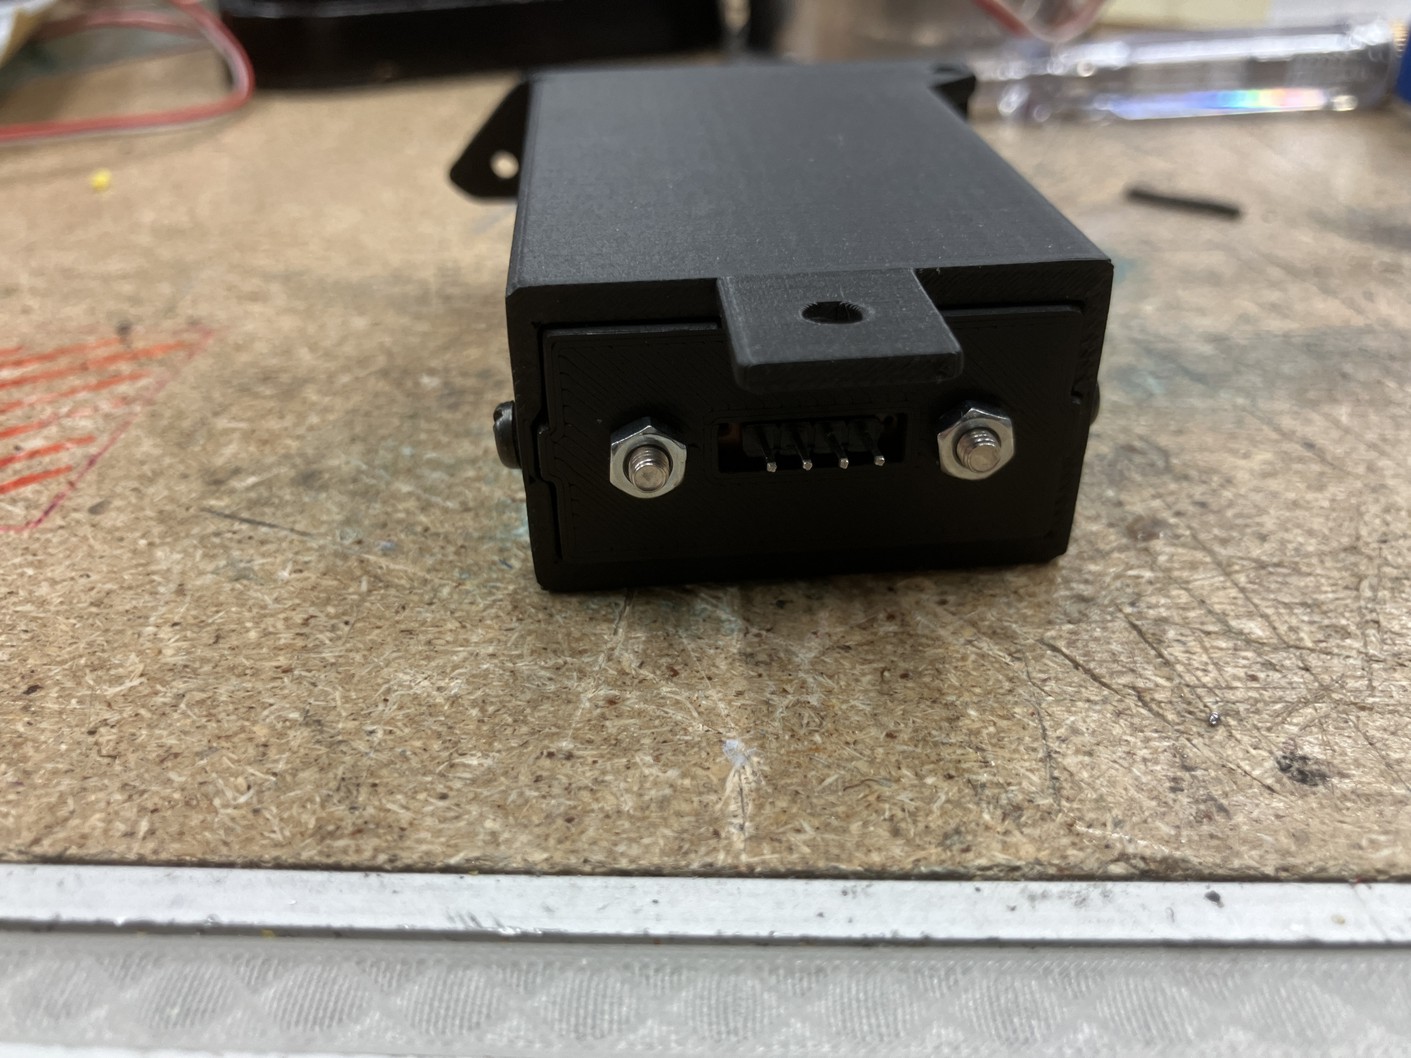
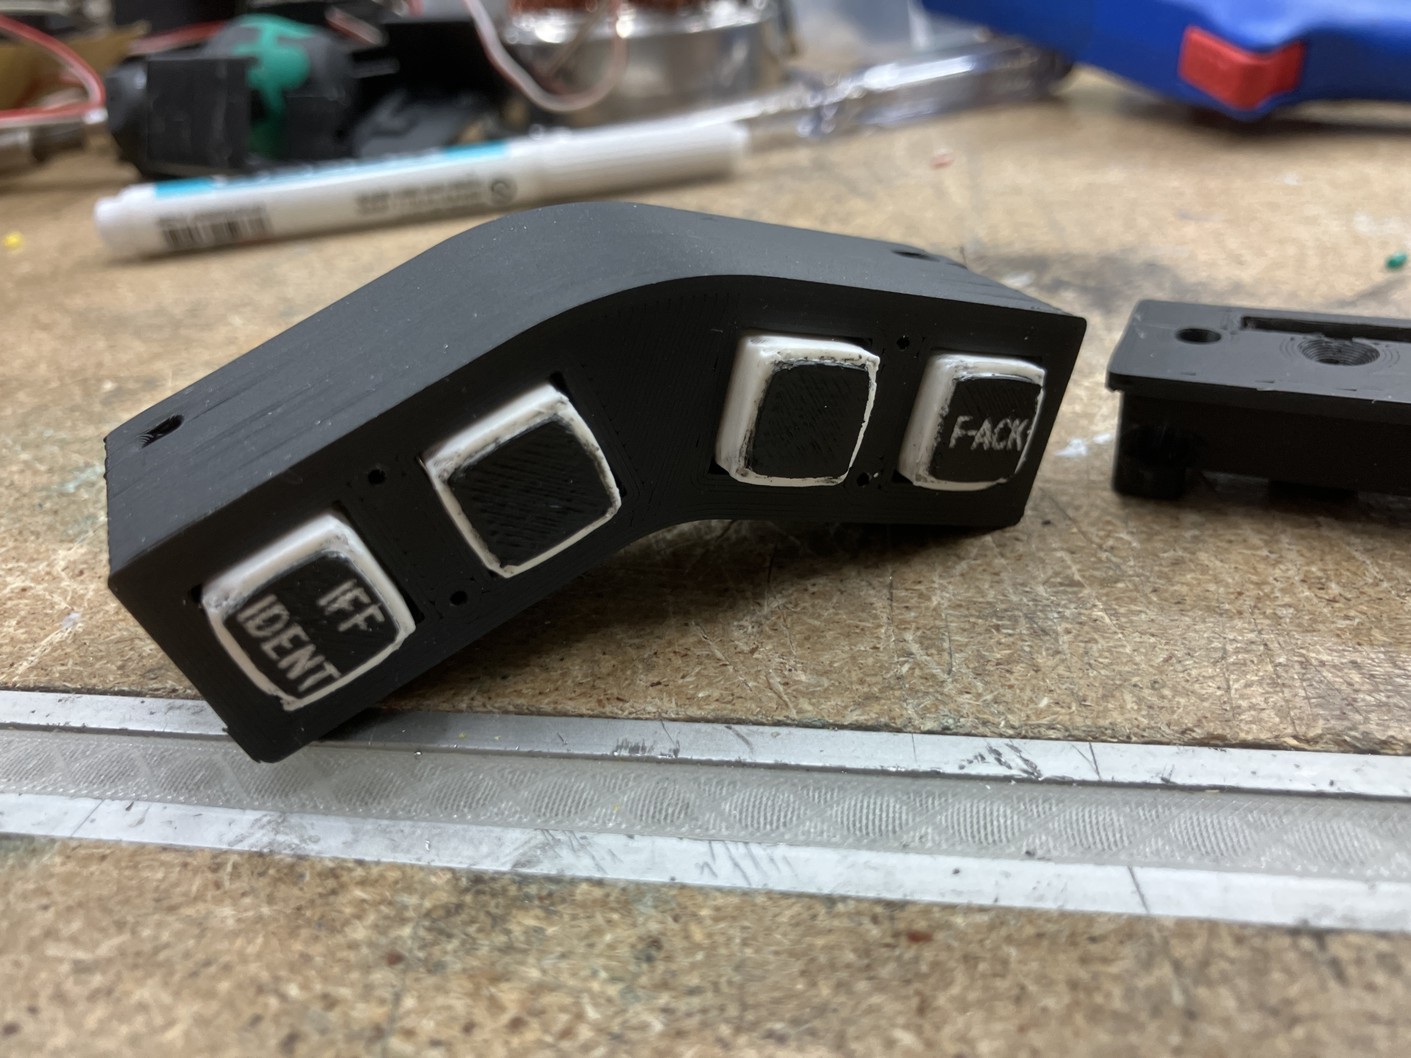
The F-ACK Button Cluster
The final part was the cluster with 4 push buttons (with only 2 buttons functional in the sim as in the real plane. This will give me 2 additional buttons for sim related inputs).
Due to it’s small size it was a bit of a PITA to build it and I will probaly redo the buttons, but at least everything works as intended.

The Glareshield
After all parts were done I could position them and drill the according mounting holes in the glareshield.
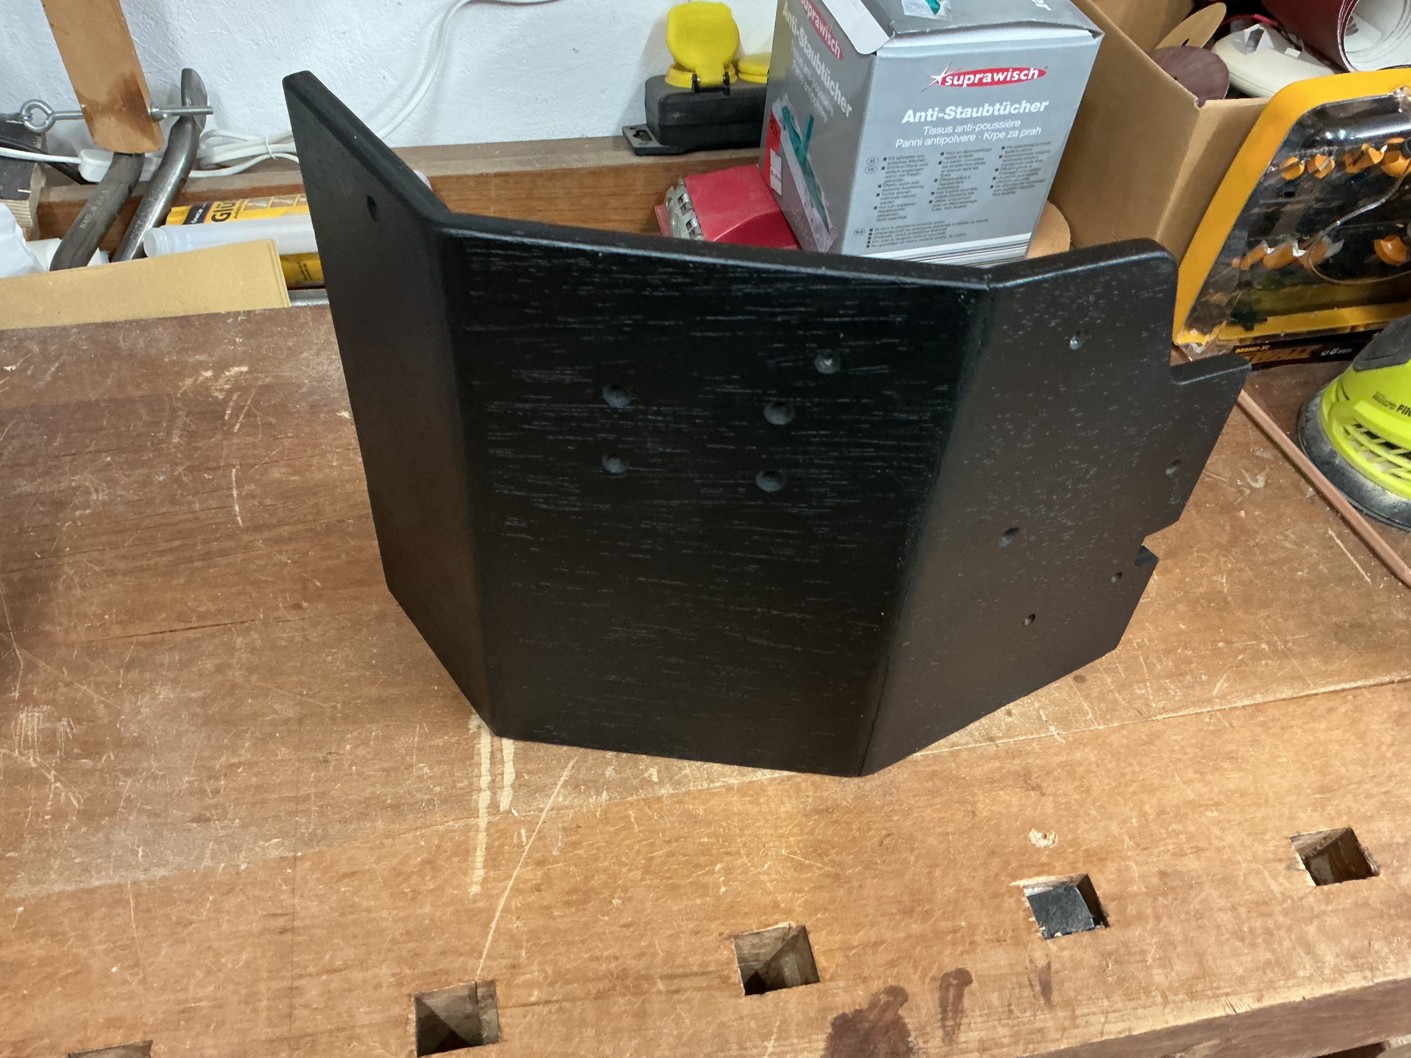
I also replaced the old wobbly mounting brackets with new 3d printed ones and strenthened both glareshield on the glued edges with additional printed brackets.

Since everything else has been done it was time for a new coat of matte black paint.
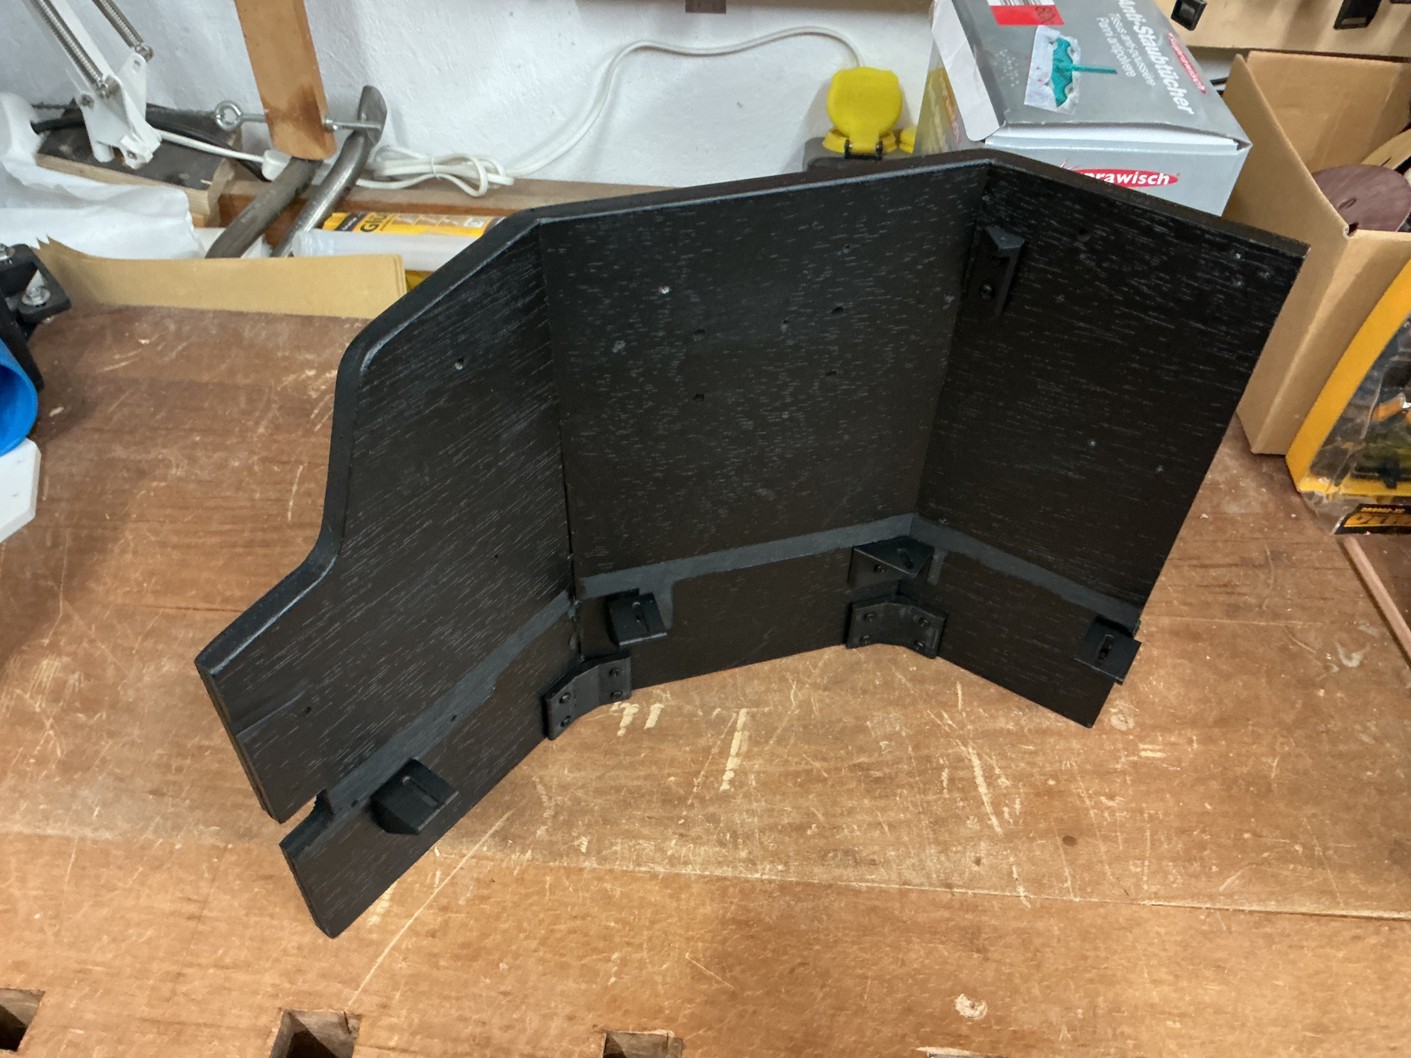
Finally I could mount everything to the glareshild and the glareshield itself onto the instrument panel.
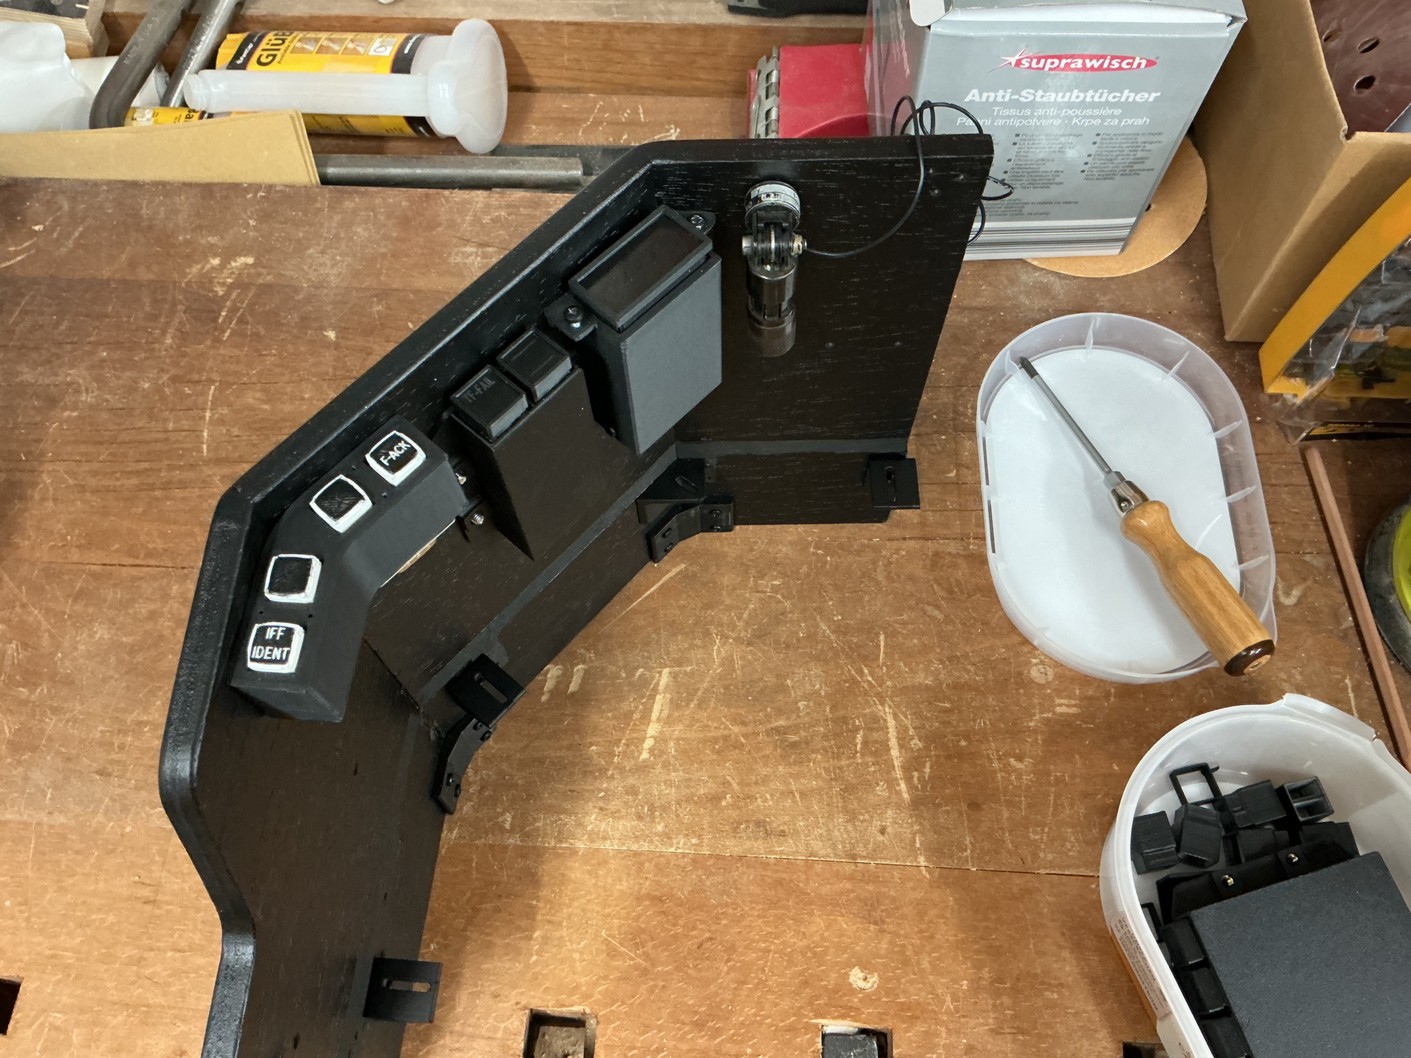
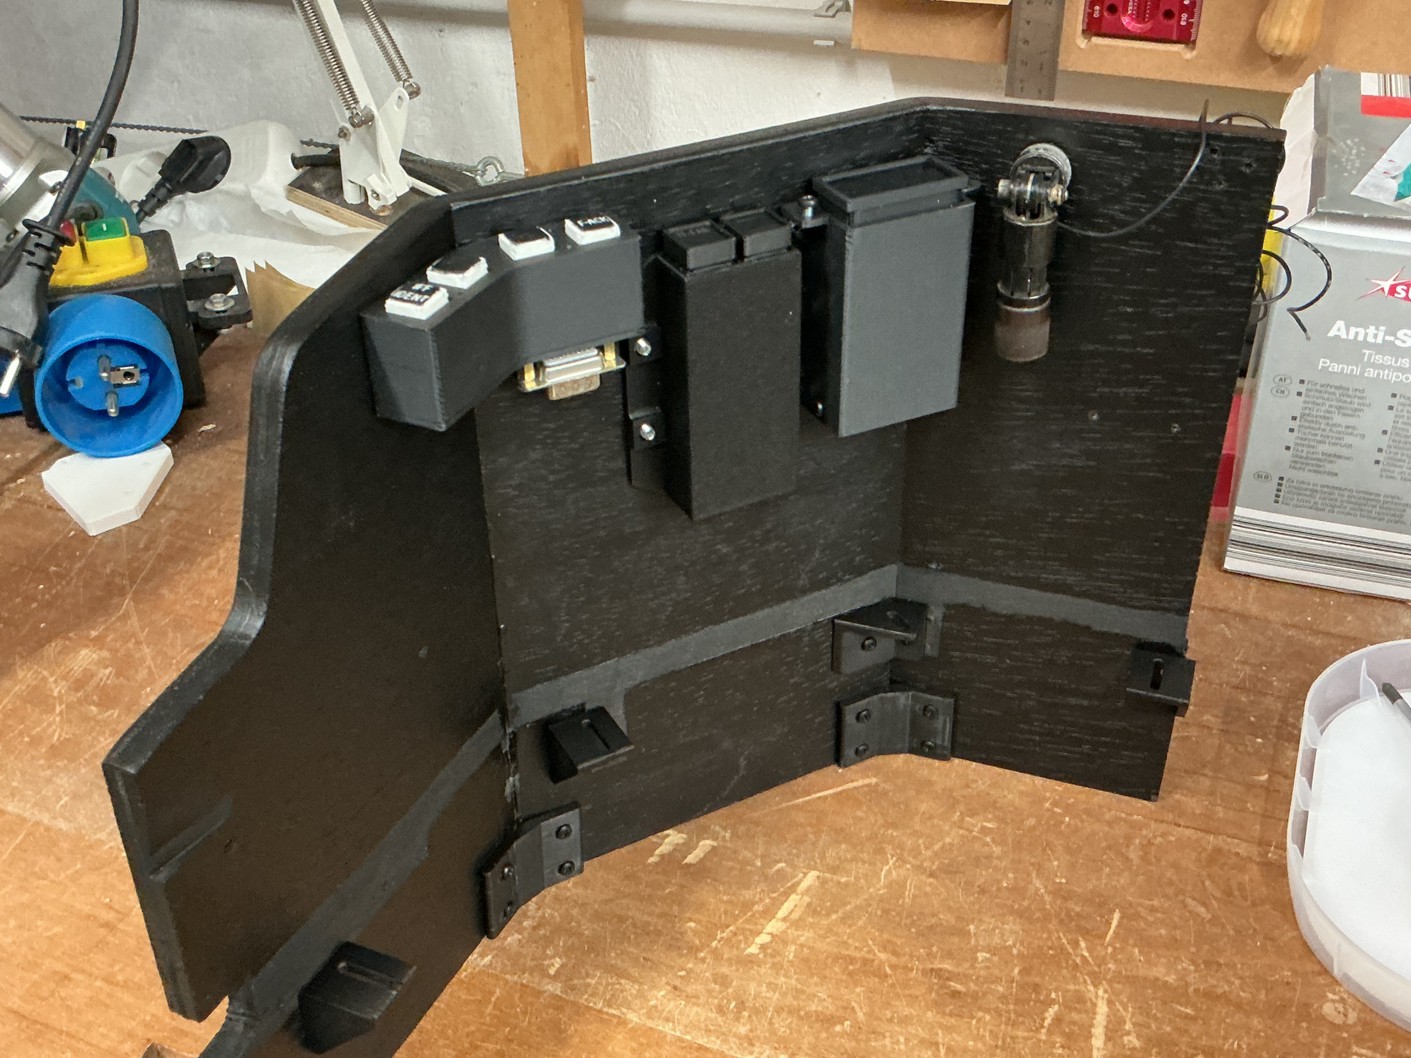
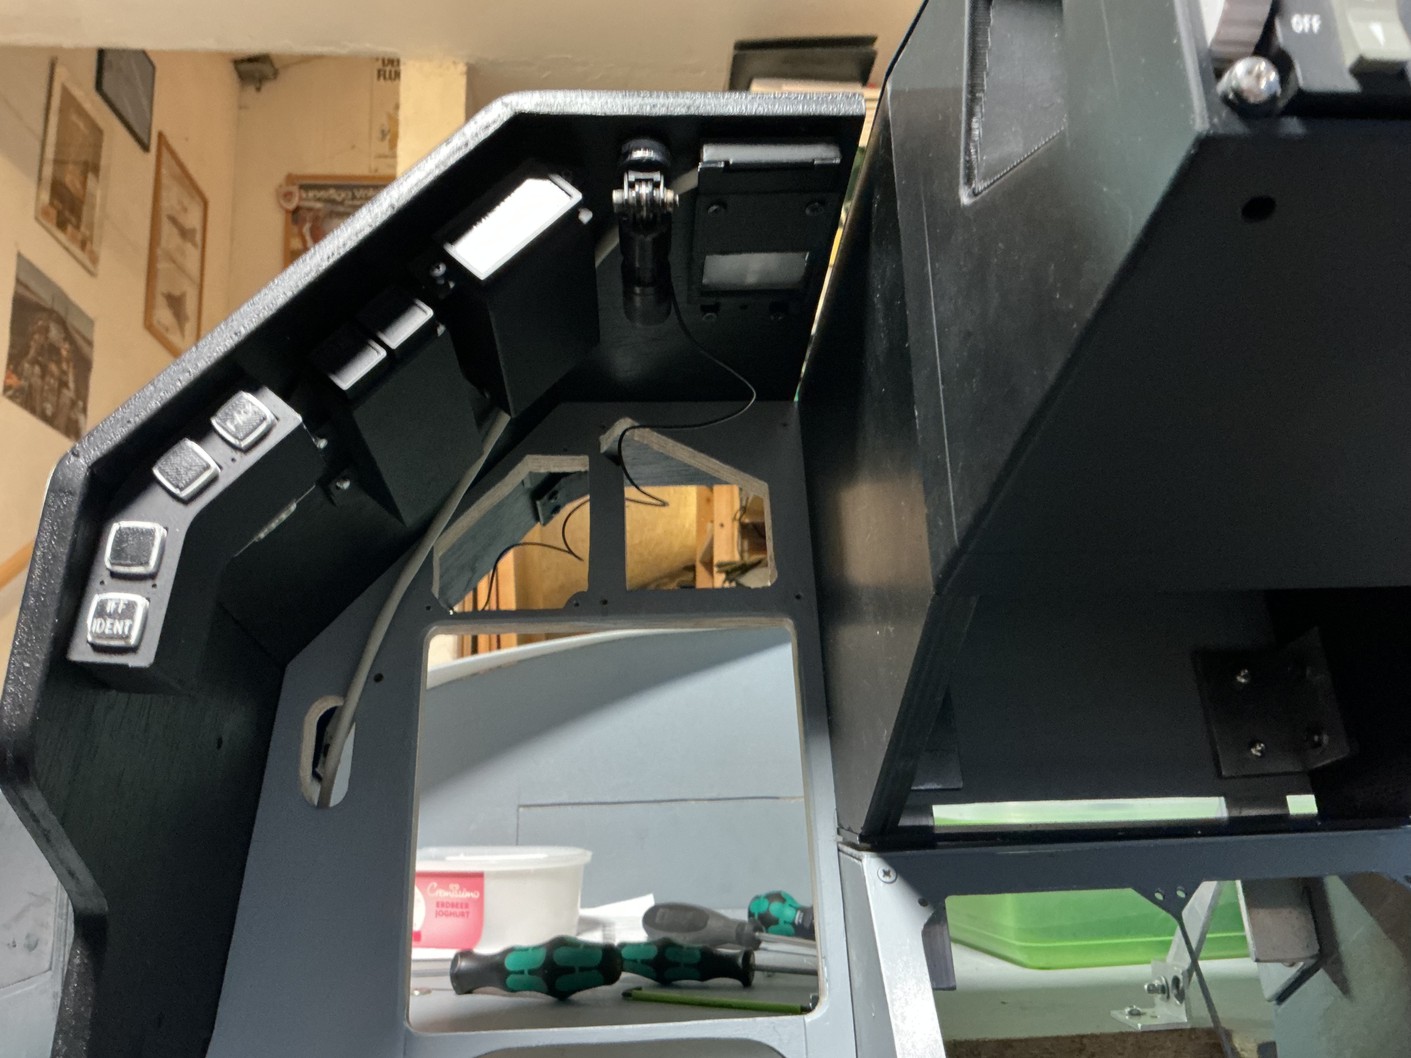
The floodlight works exactly how I intended it to do 🙂