Finally the ejection seat looks and works as I wanted.
I started building the reails for the seat in 2013 (Seatrails Bau), but never found the time to finish them.
Since I’m already in the process of reworking the whole pit it was the perfect moment to make all the changes to the things I didn’t like on the seat.
The Seatrails
First I removed some weight on the base board and painted it and the back top plate.
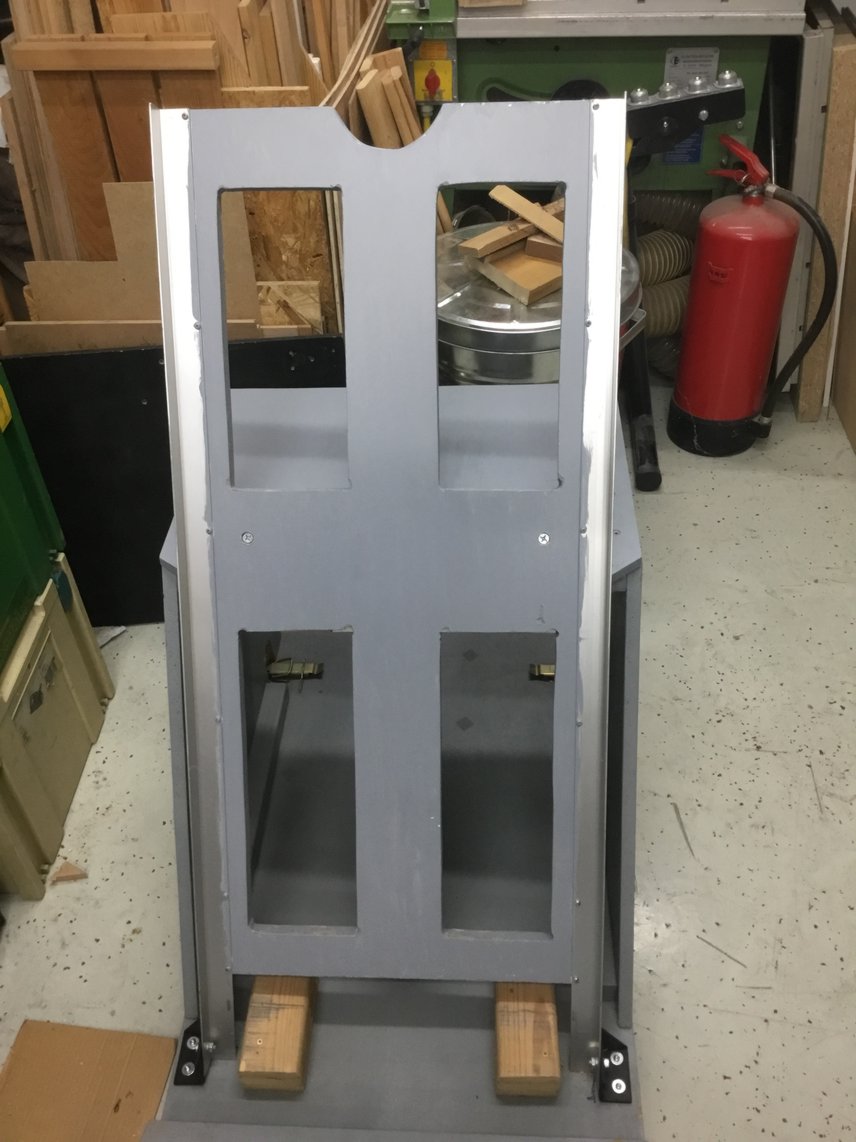
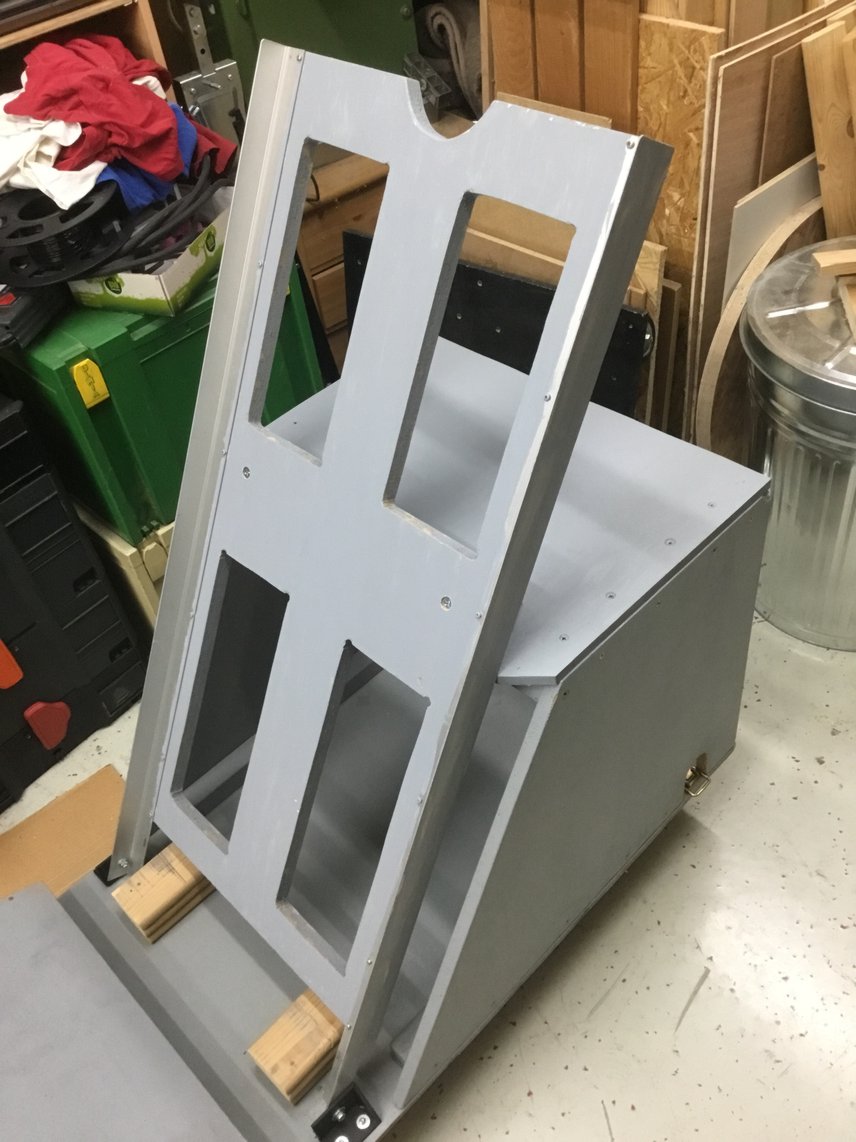
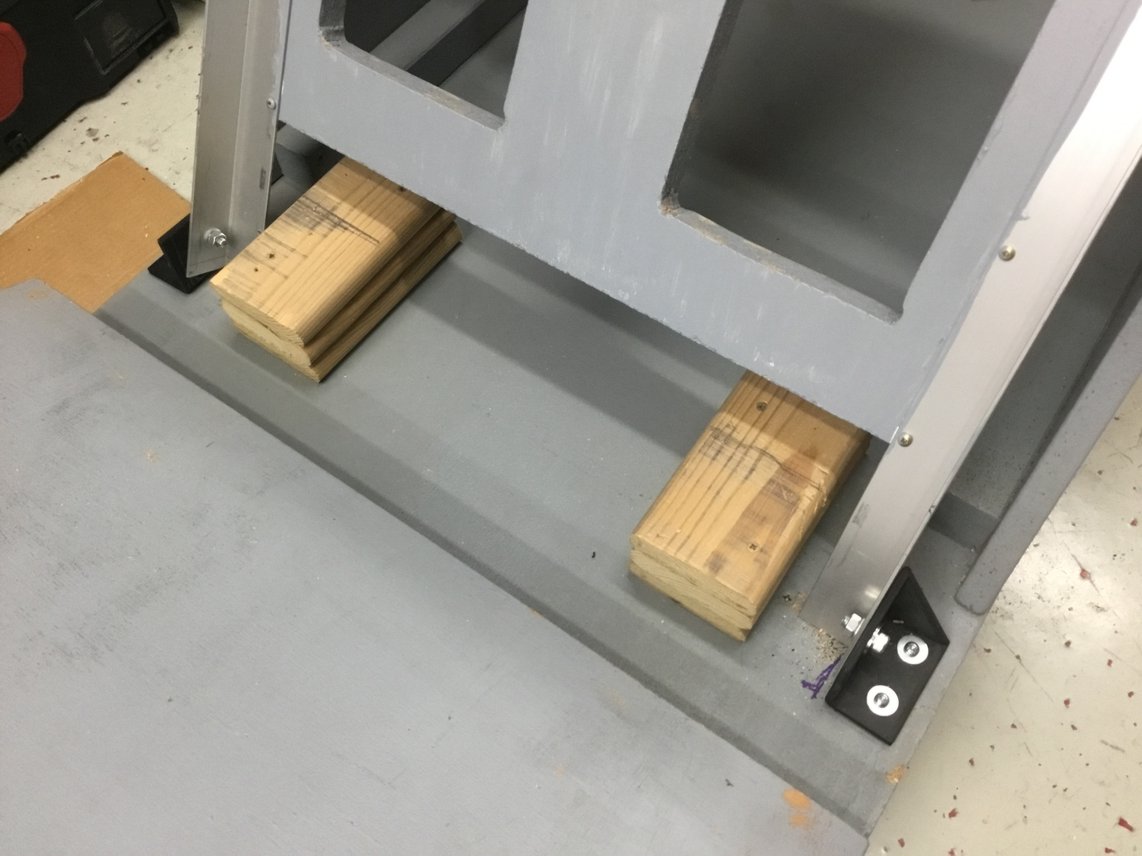
To fix the reails I designed and printed mounting brackets, now everything is held in place very firmly.
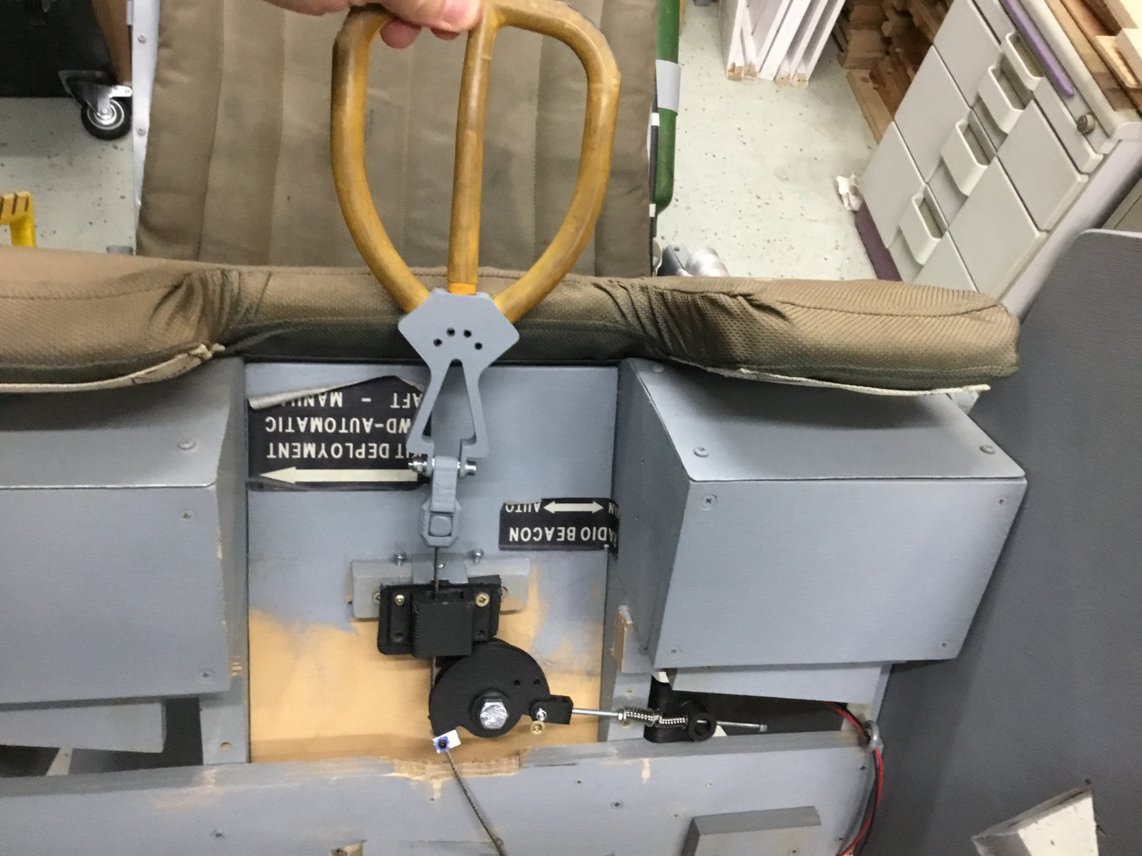
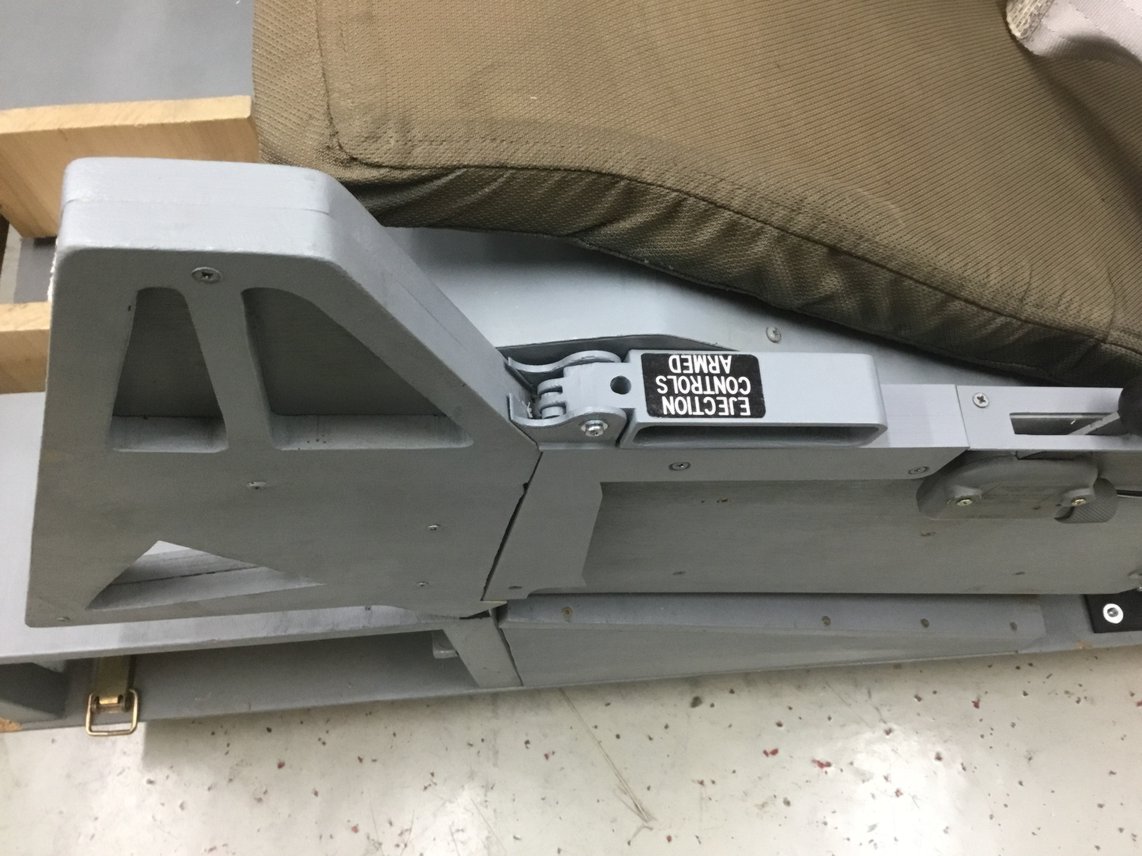
The Ejection Lever
The old construction of the lever was everything but satisfying – the parts themselves were made of wood and the mechanism was just a linear spring with not enough needed force.
After activating the lever it war quite some hassle to put it back into position again.
My first idea was to fabricate the bracket aus of aluminium, so everything got designed in FreeCAD first.
But after my test print happened to be much more rigid than expected I decide to keep and paint it.
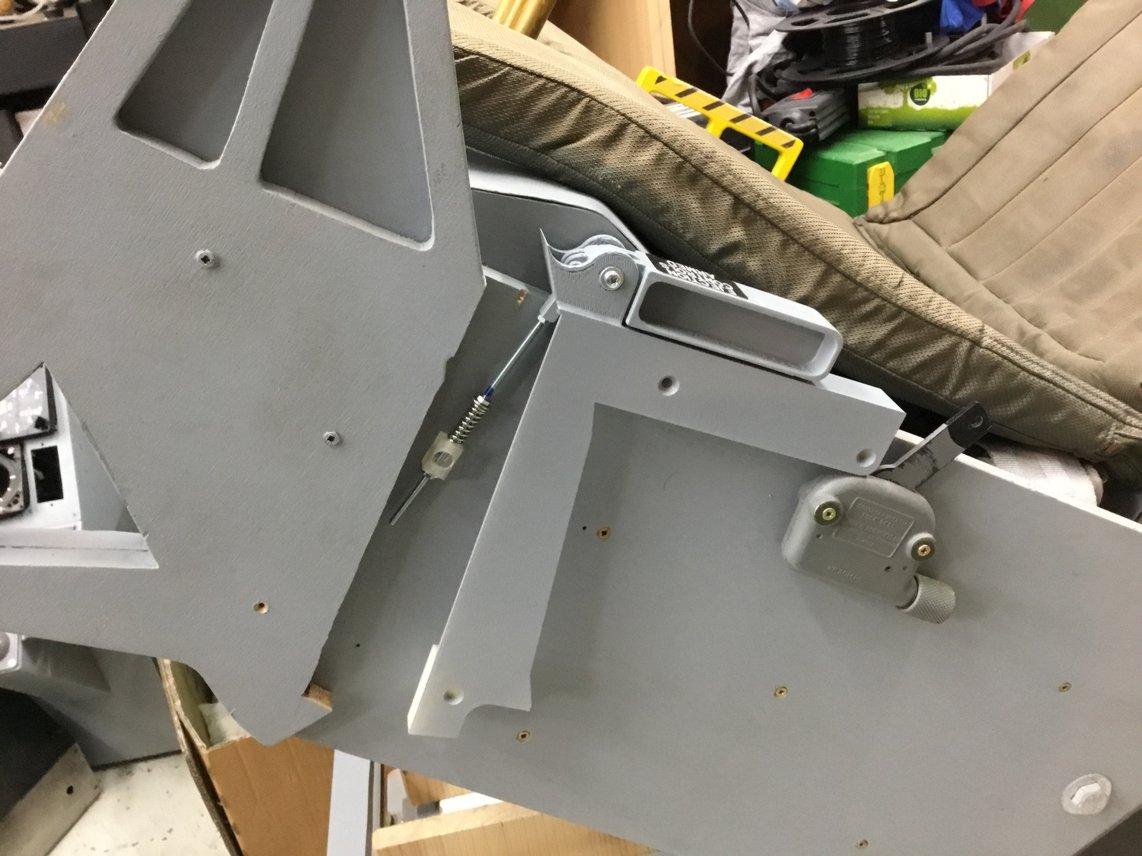
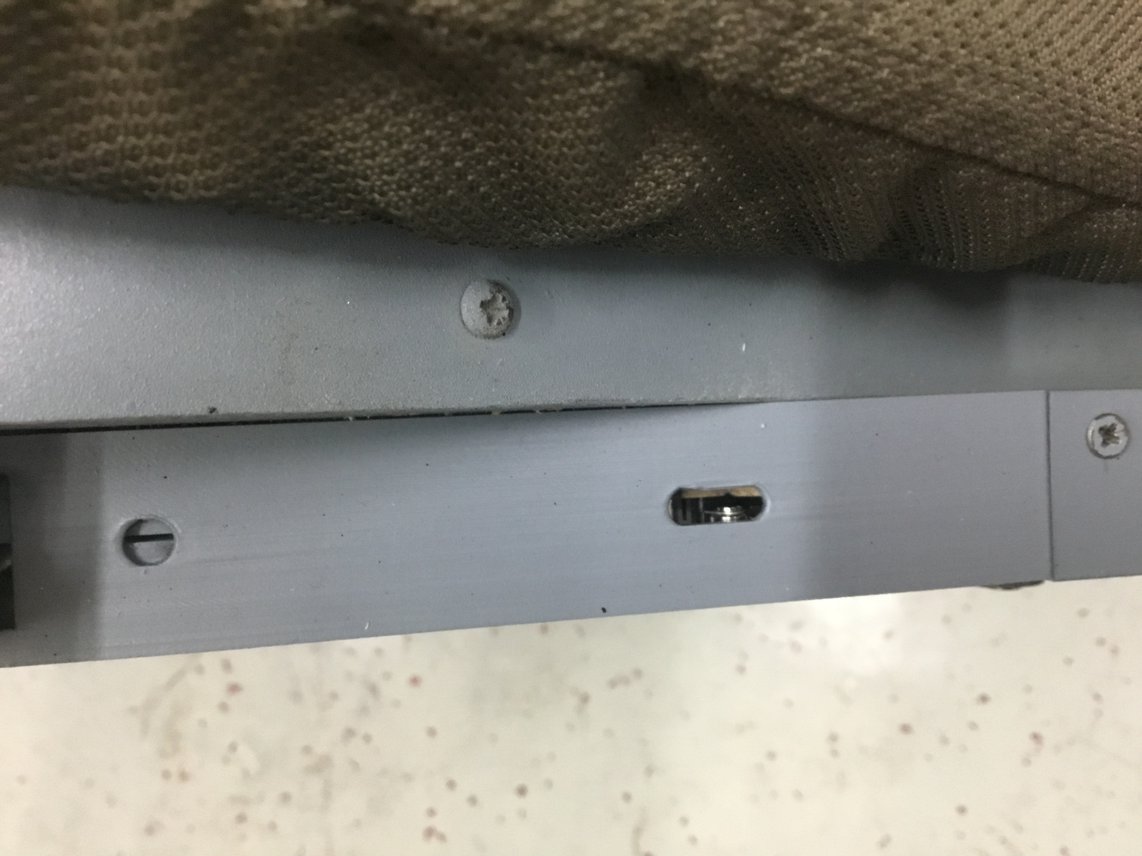
There are now 3 springs in series which creates a small needed force at the beginning of the activation but more force to activate the microswitch.
(The switch is not on the pics, it gets activated by the threaded rod)
Sadly the restricted space didn’t let me build the mechanism in a way that the travel way of the lever is the same as the original one. But even with less travel it now feels completely different than before.

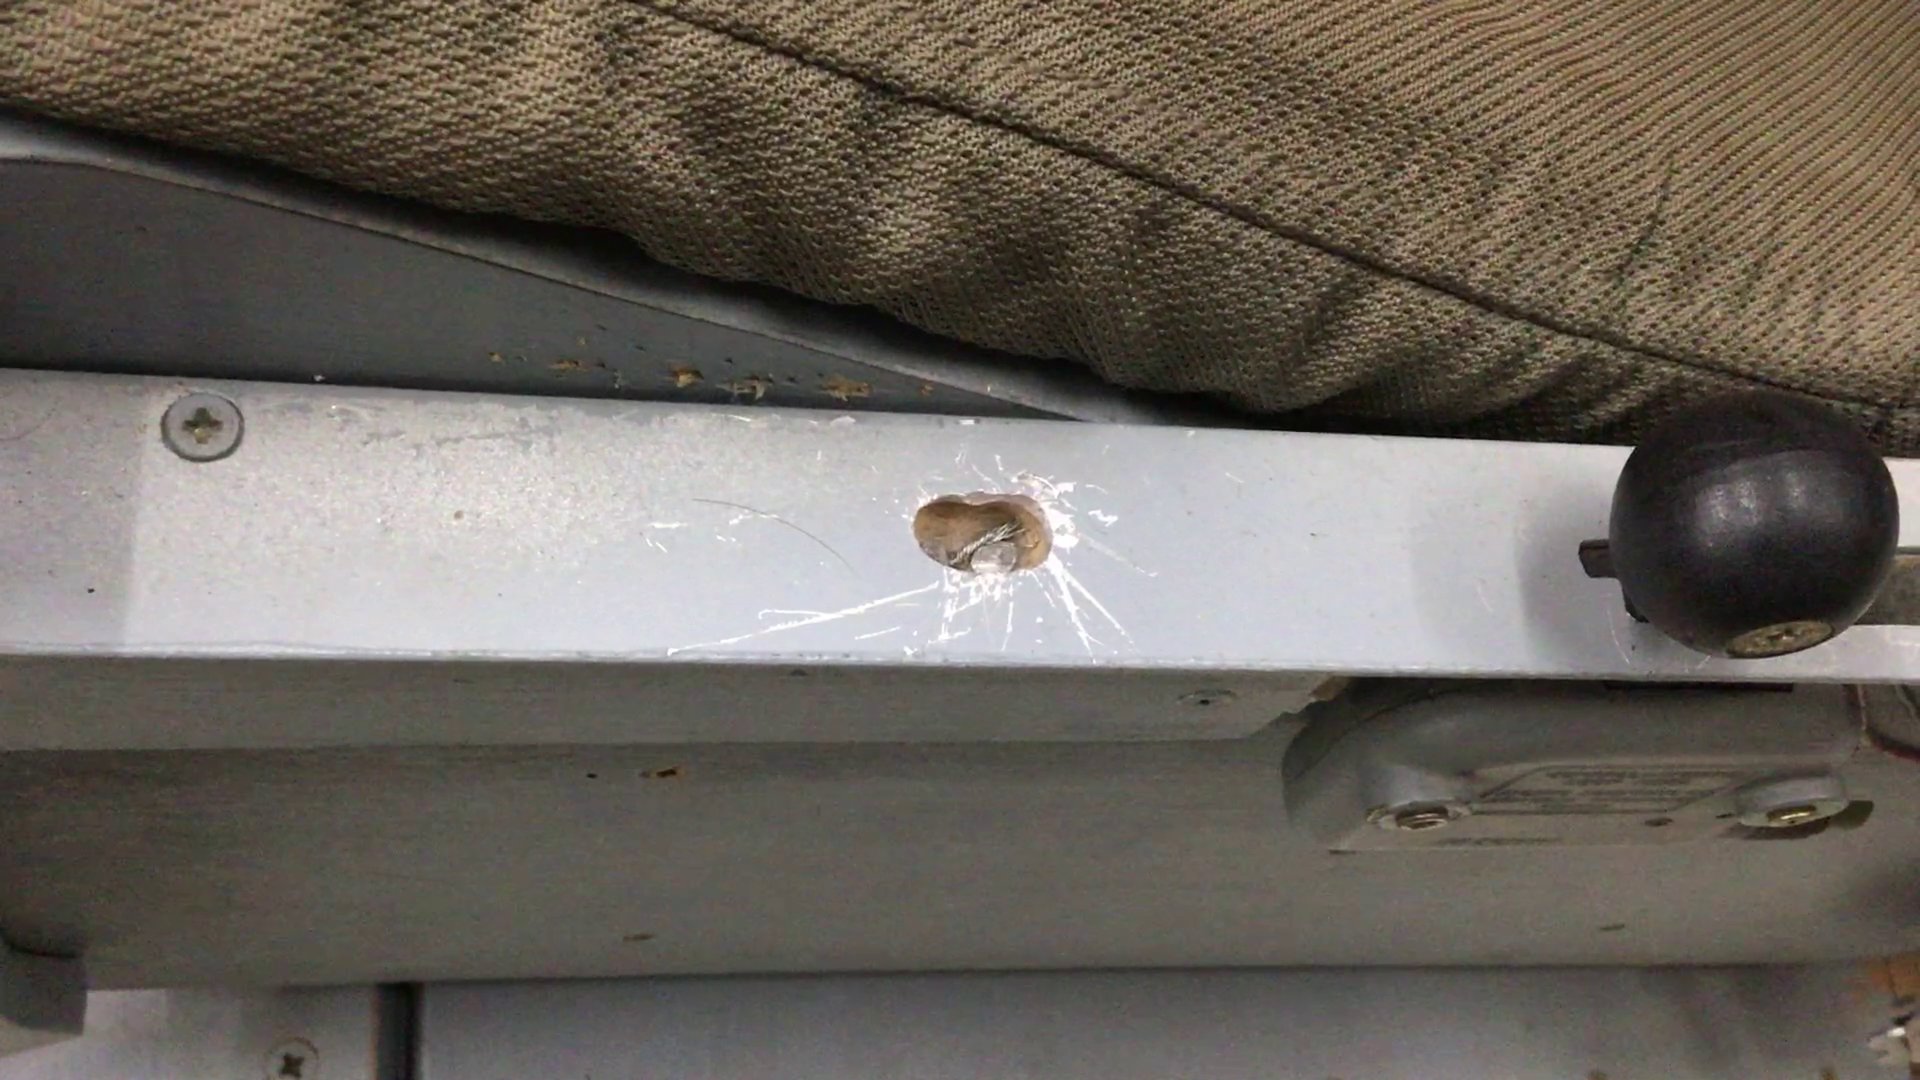
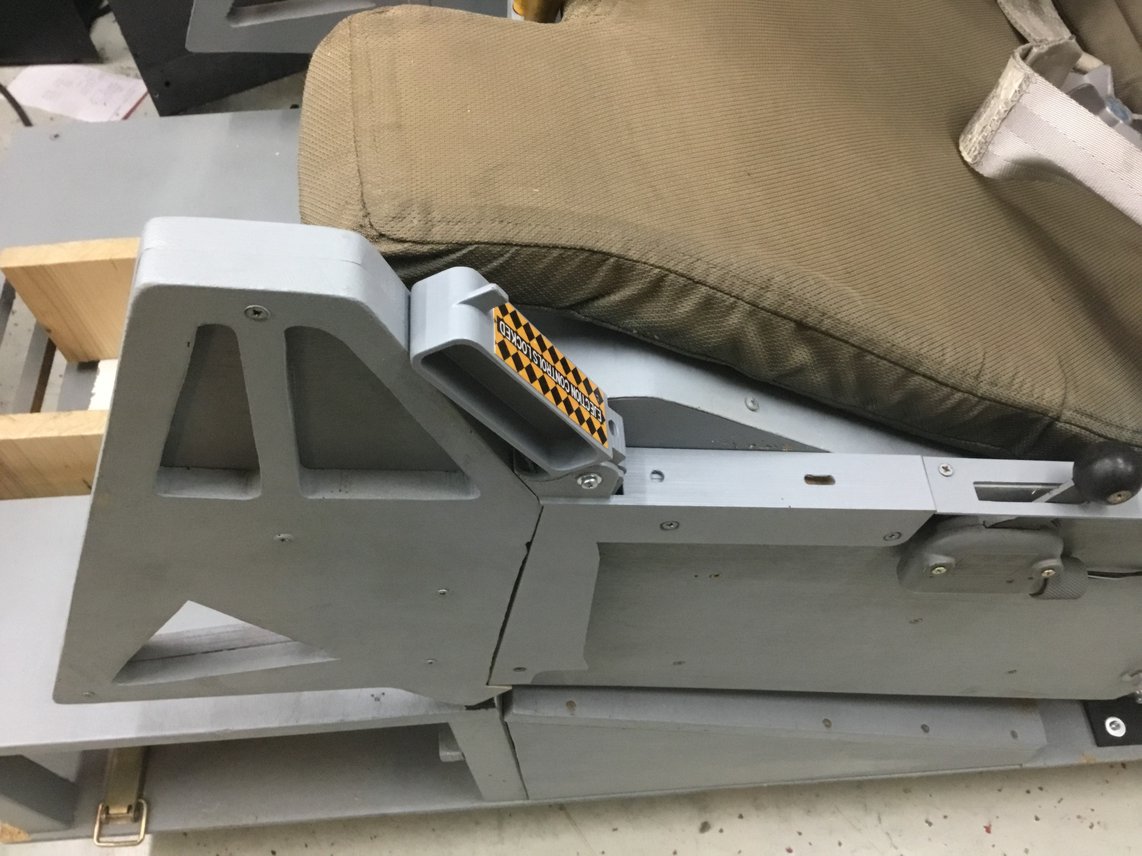
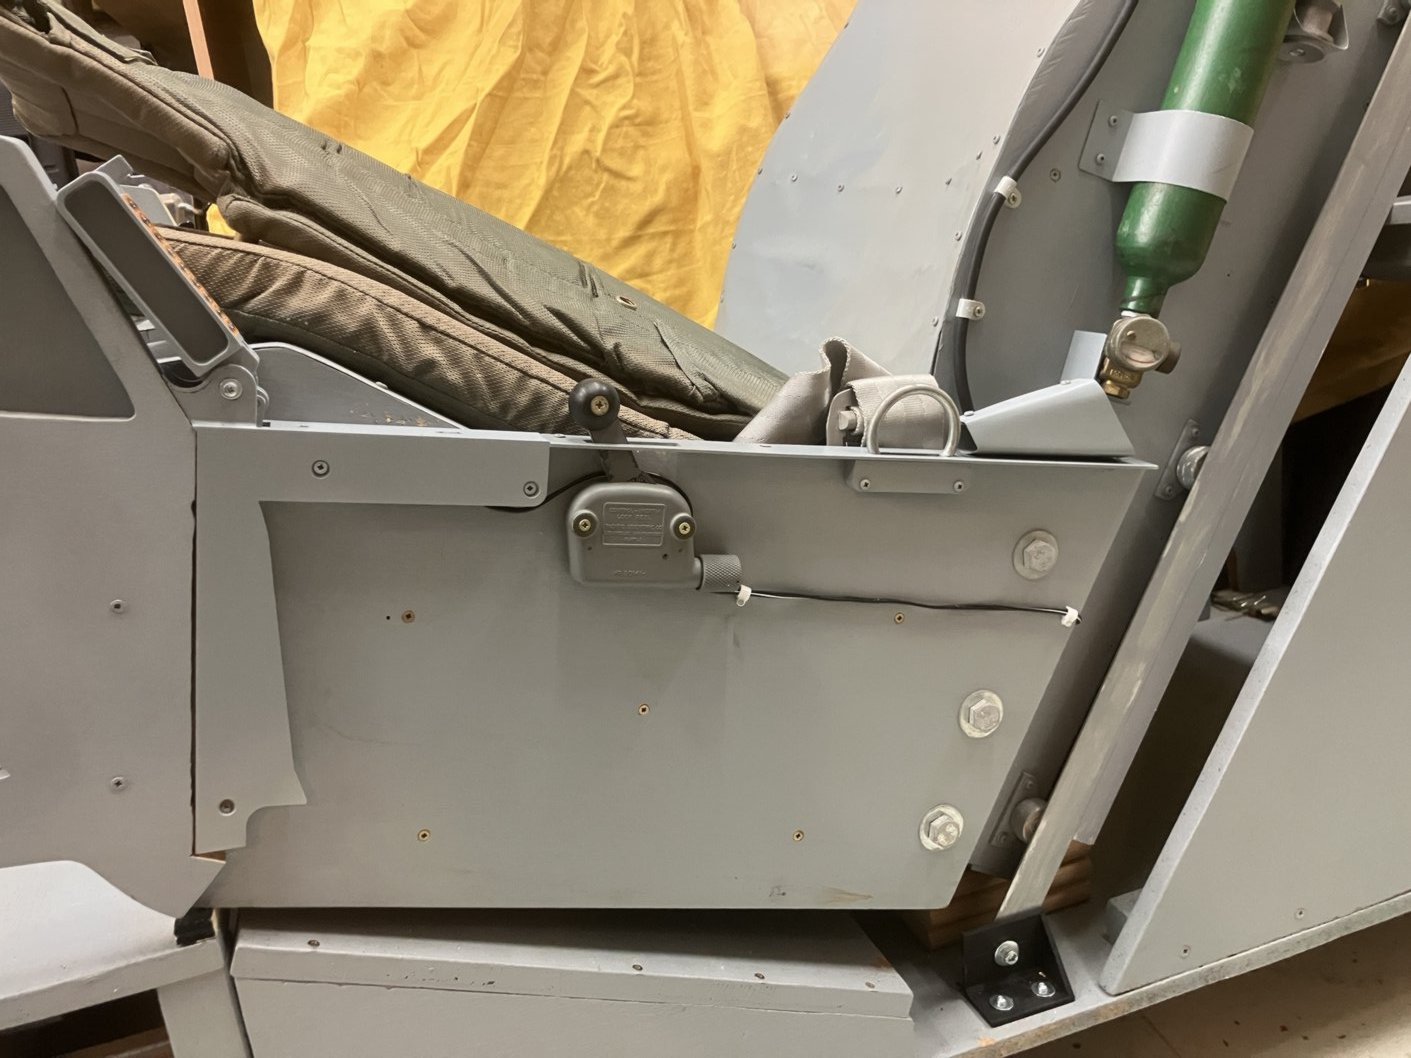
The Safety Hebel
The old safety lever mechanism wasn’t the best solution since I didn’t have the manufacturing possibilities I have now.
There war no place to put a real microswitch, so I created a very crude solution with 2 nails and a wire that connects those nails when the switch is put down.
But the lever itself was just held in place through gravity so this and the fact, that the springiness of the wire declined after time I always got some connection problems.
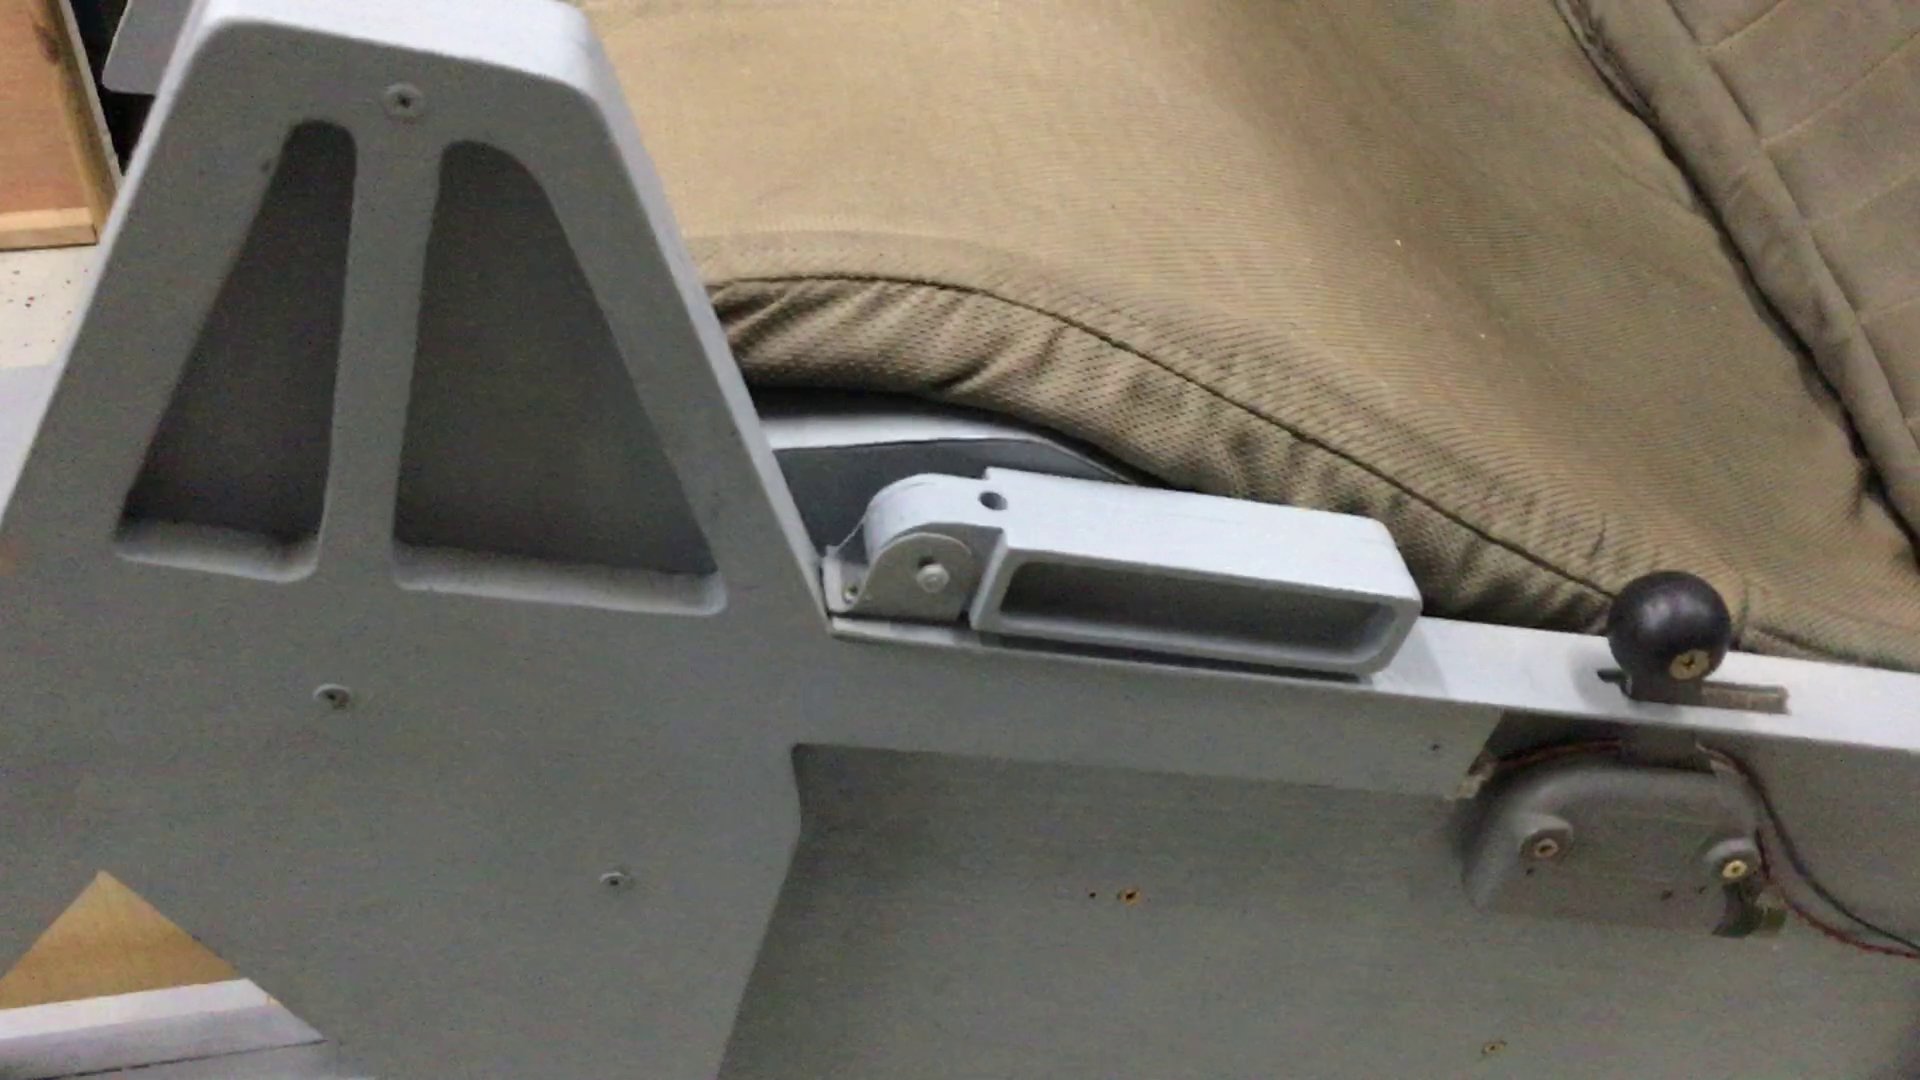
Through the possibilities of 3d printing I could produce a new construction that can be mounted to the side of the seat.
It now includes a cam mechanism to hold the lever in both positions and there is a place underneath it to position a microswitch that gets activated by the lever’s “nose”.
The lever itself got designed from scratch in CAD, 3d printed and after adding some nice stickers it looks much better than the old one.
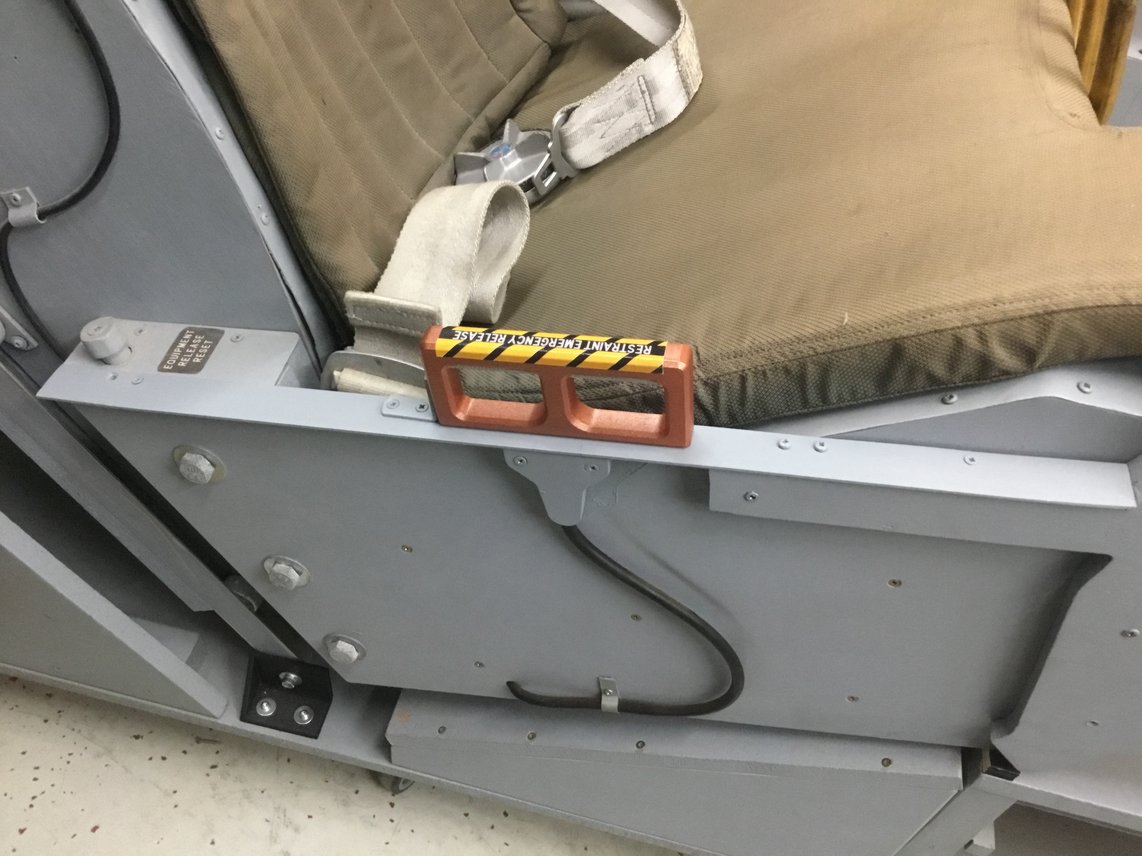
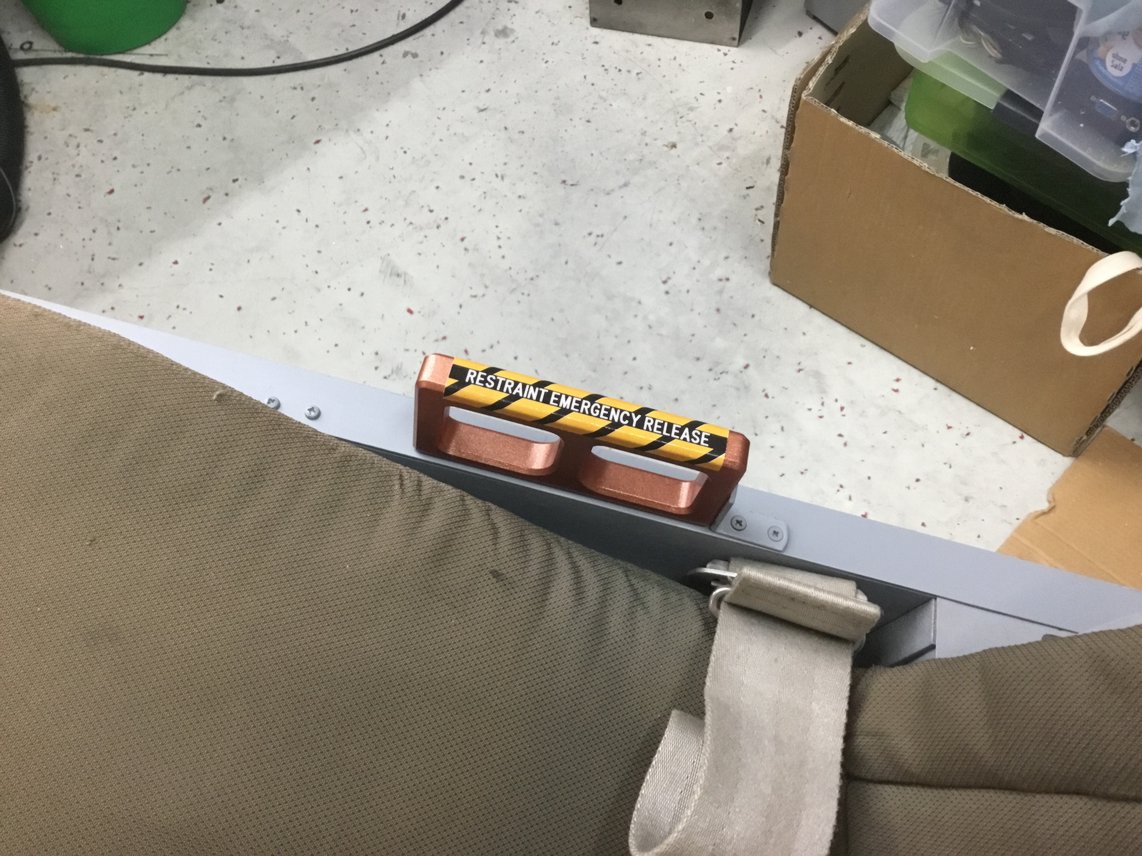
Restraint Emergency Release Lever
I also designed and printed a new RER, painted it and added a new sticker.
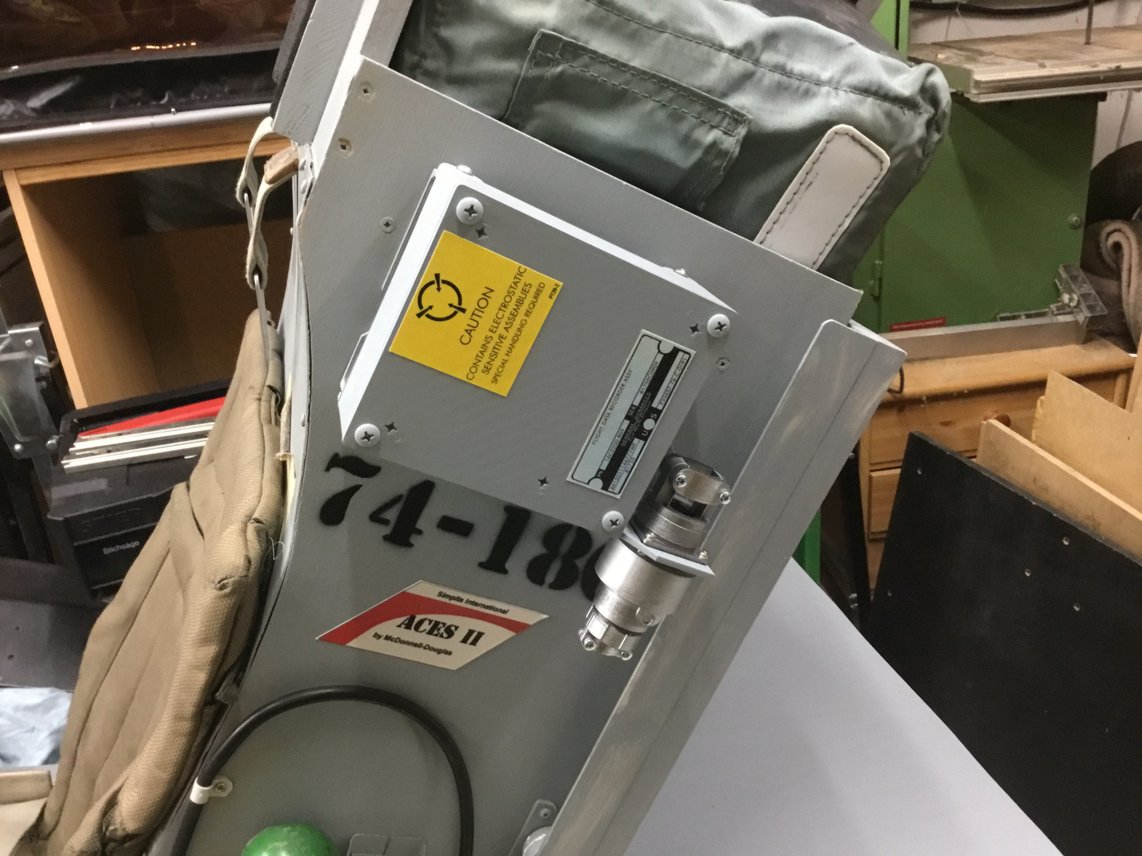
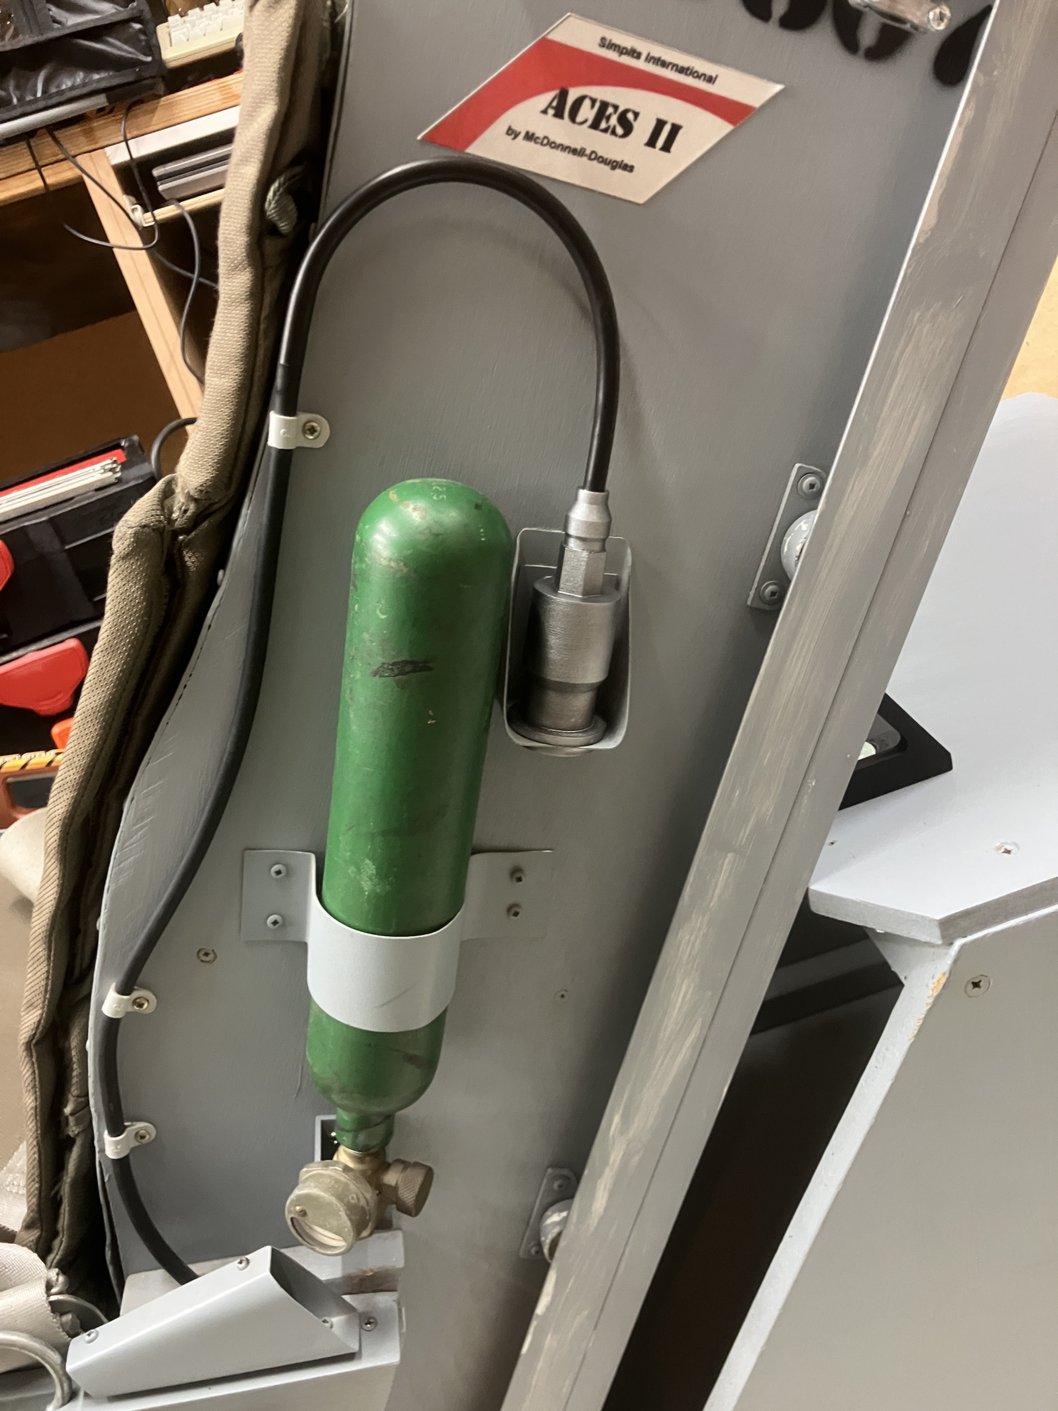
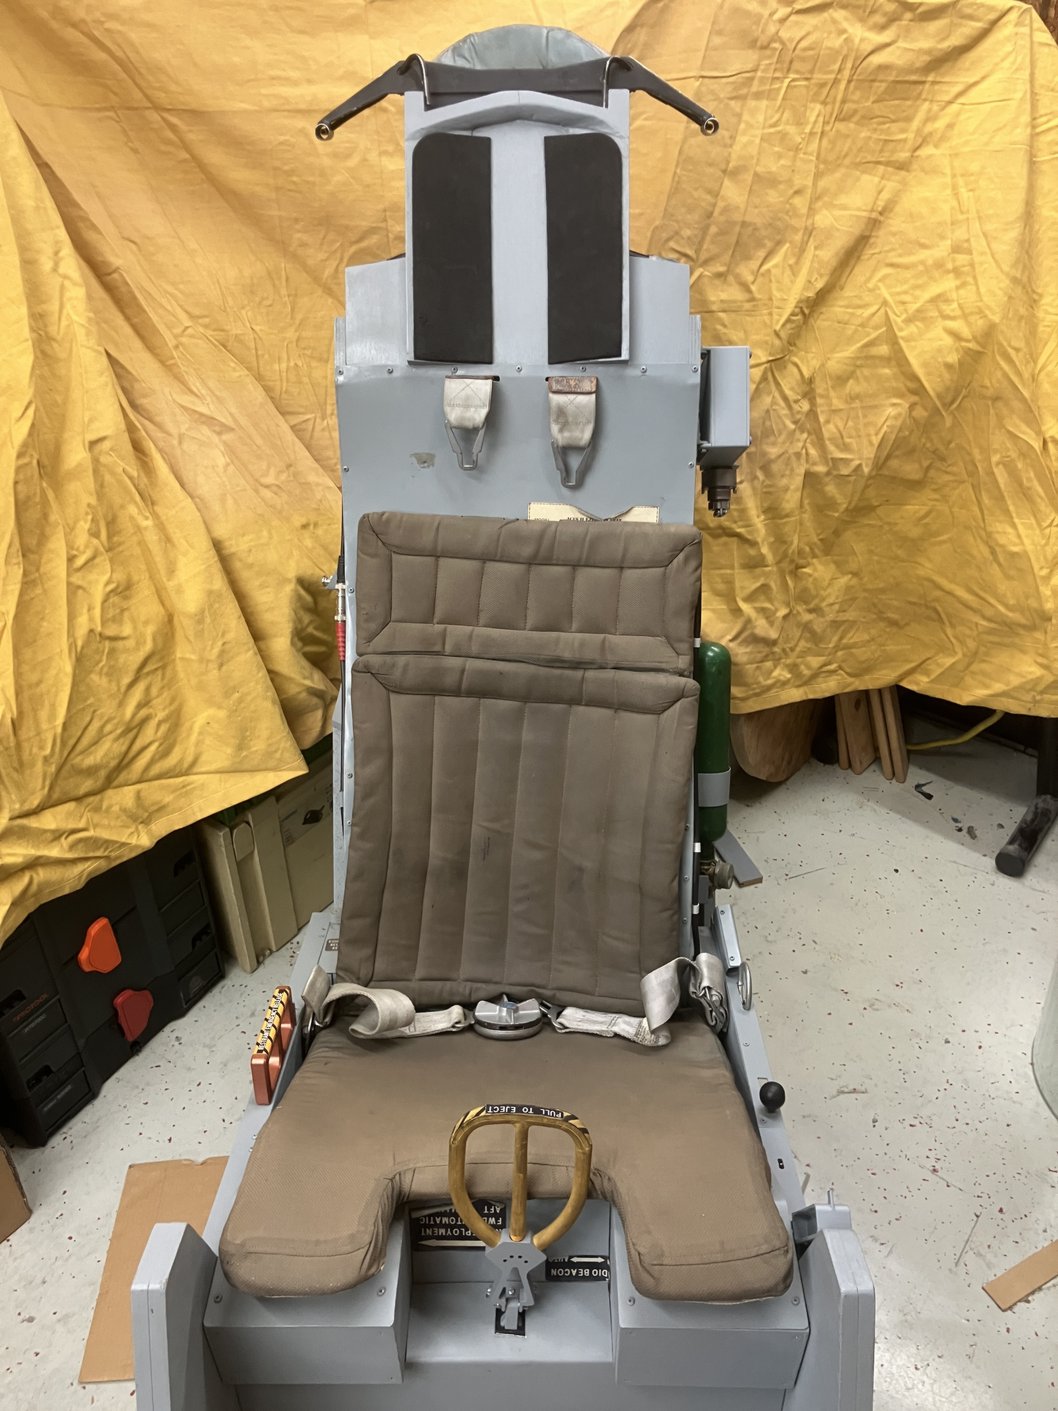
On the left side I added some accessories like the FlightDataRecorder or the connector besides the oxygen bottle.
Finally the end result is exactly the seat I wanted to have from the beginning.

There’s also a video about the modifications available: