It’s finally done!
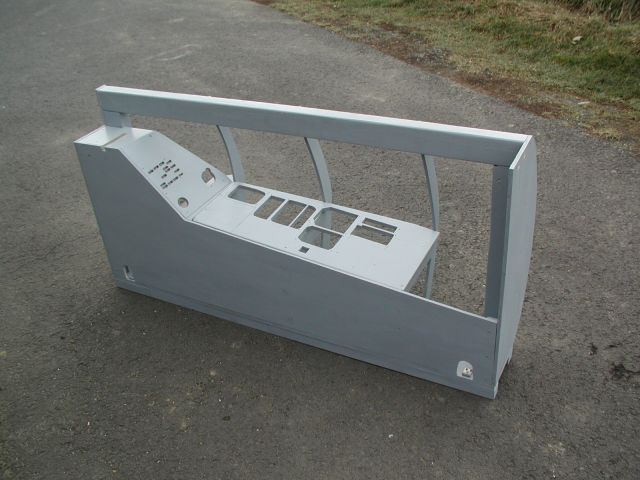
After quite some time the rework of the right console structure has been finished with the new RightAUX console.
A lot of things have been made since the last update on the right structure:
- The wristrest and armrest got their mounting brackets behind the sidewalls
Quite a lot of aluminium angle brackets and sheets, but this keeps everything rock solid when weight is on the rests.

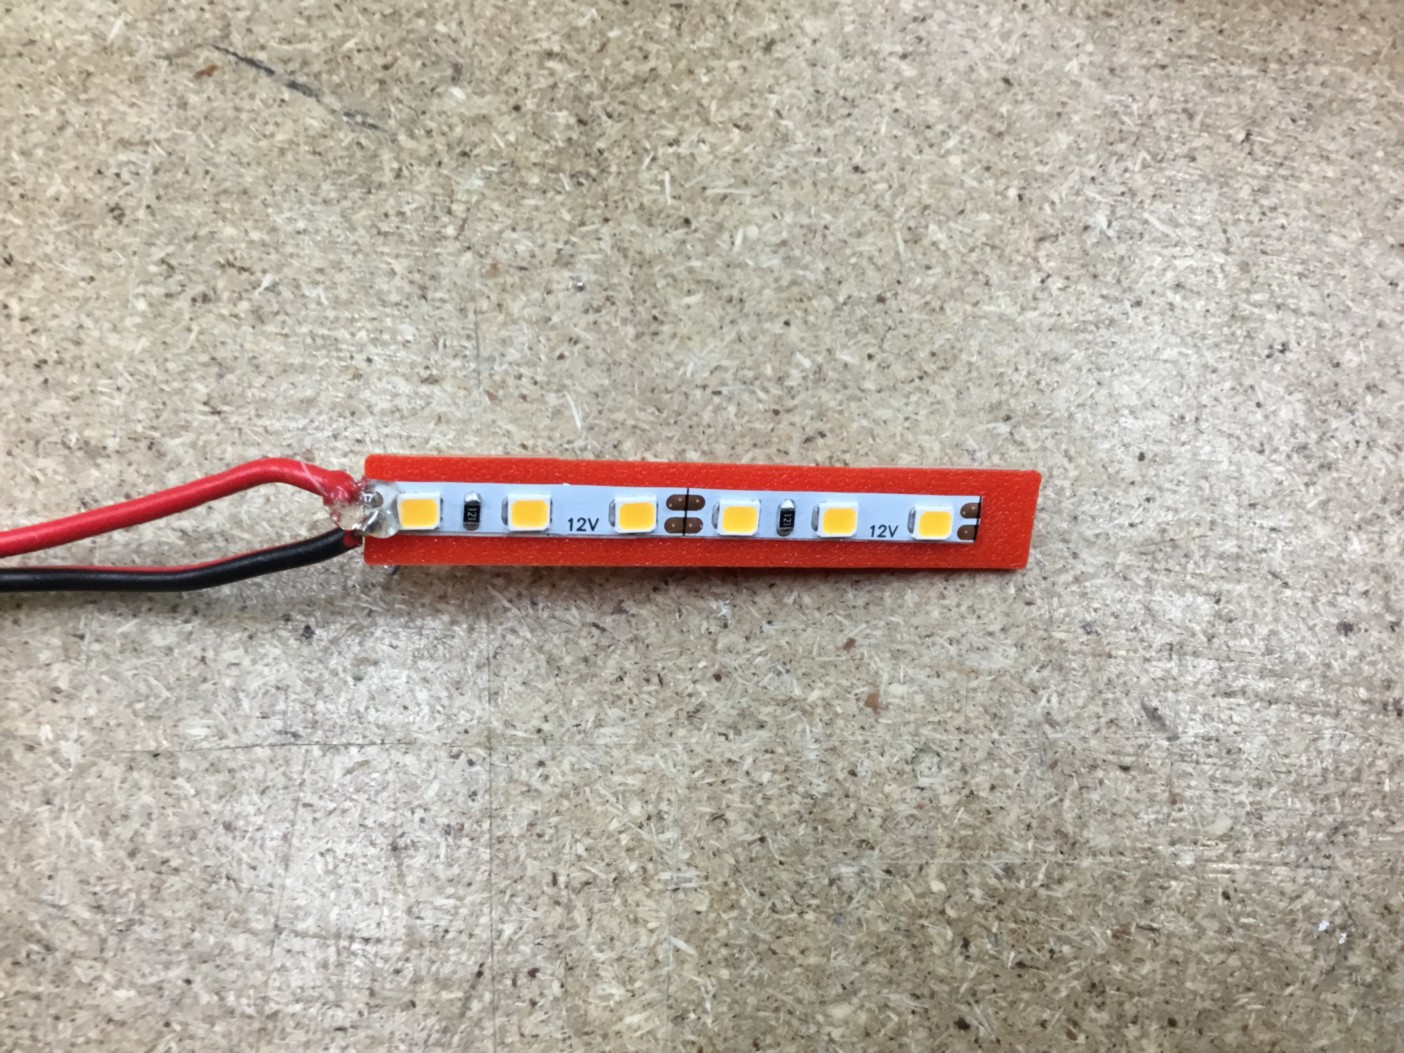
- The floodlights have been installed
There are 5 floodlights on the right side, 4 in the wall of the LeftConsole and 1 in the wall of the RightAUX.
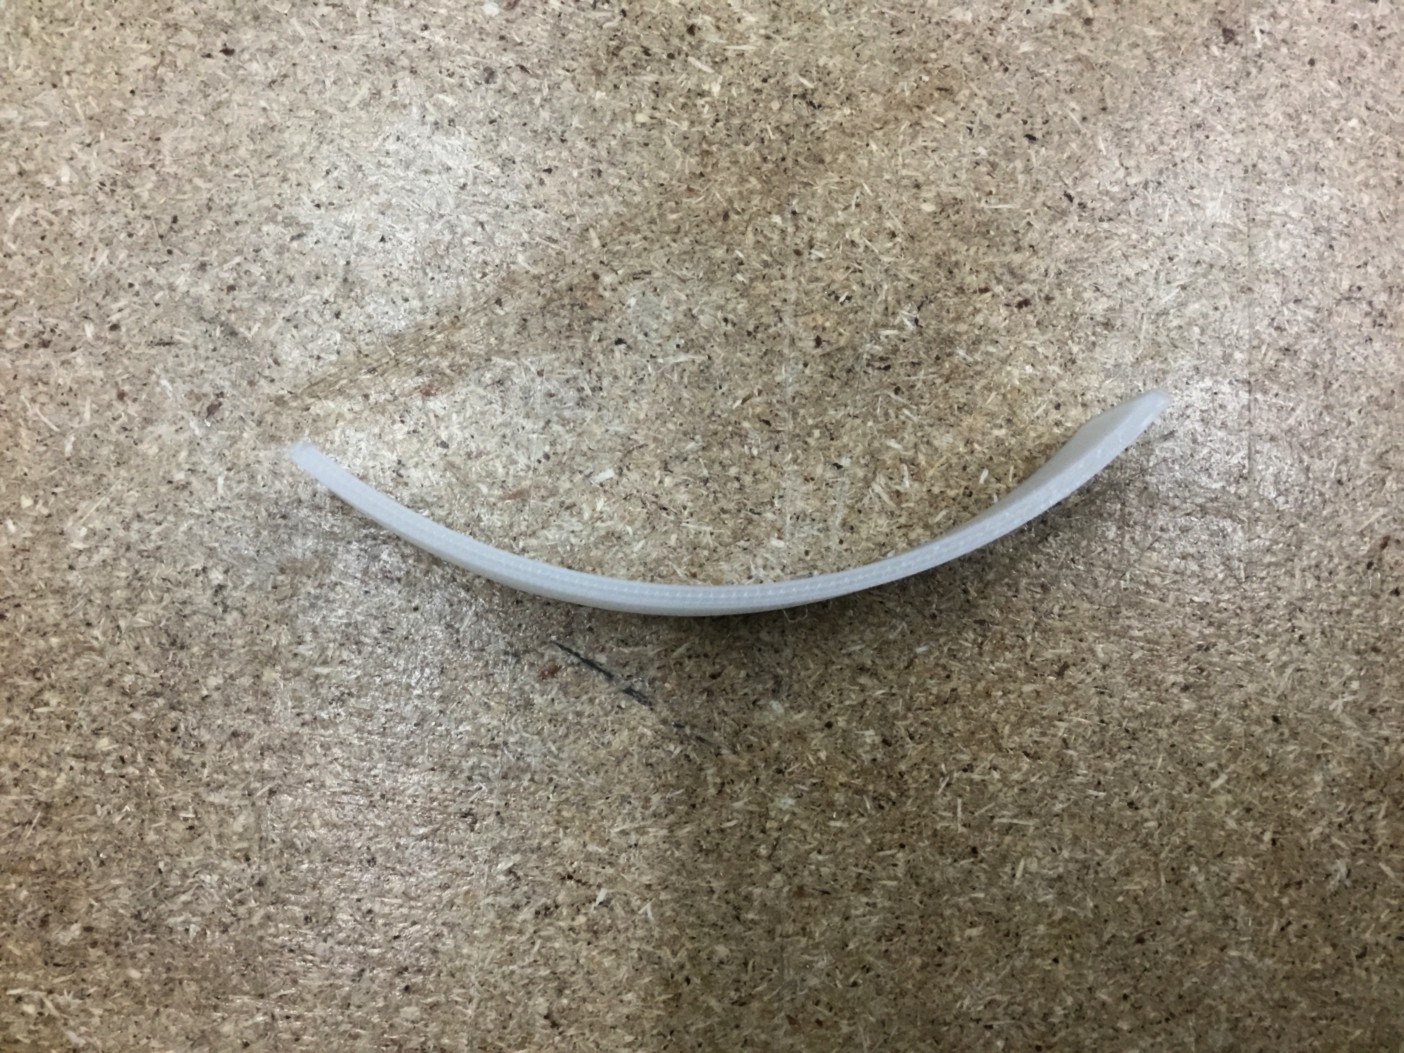
To implement this I decided to go with cut LED-strips (6 LEDs per cut, 3 for the floodlight). They are mounted on 3dprinted holders and then put onto the sidewalls with doublesided tape.


Lighting works great!

I tried to keep the cabling neat and easy, worked out good enough.

- Additional feature added
First I remade the padding of the armrest, since the first one was full of wrinkles.
This time I printed a holder in the shape of the rest where I put the padding and leather and then glued this to the rest – much better!
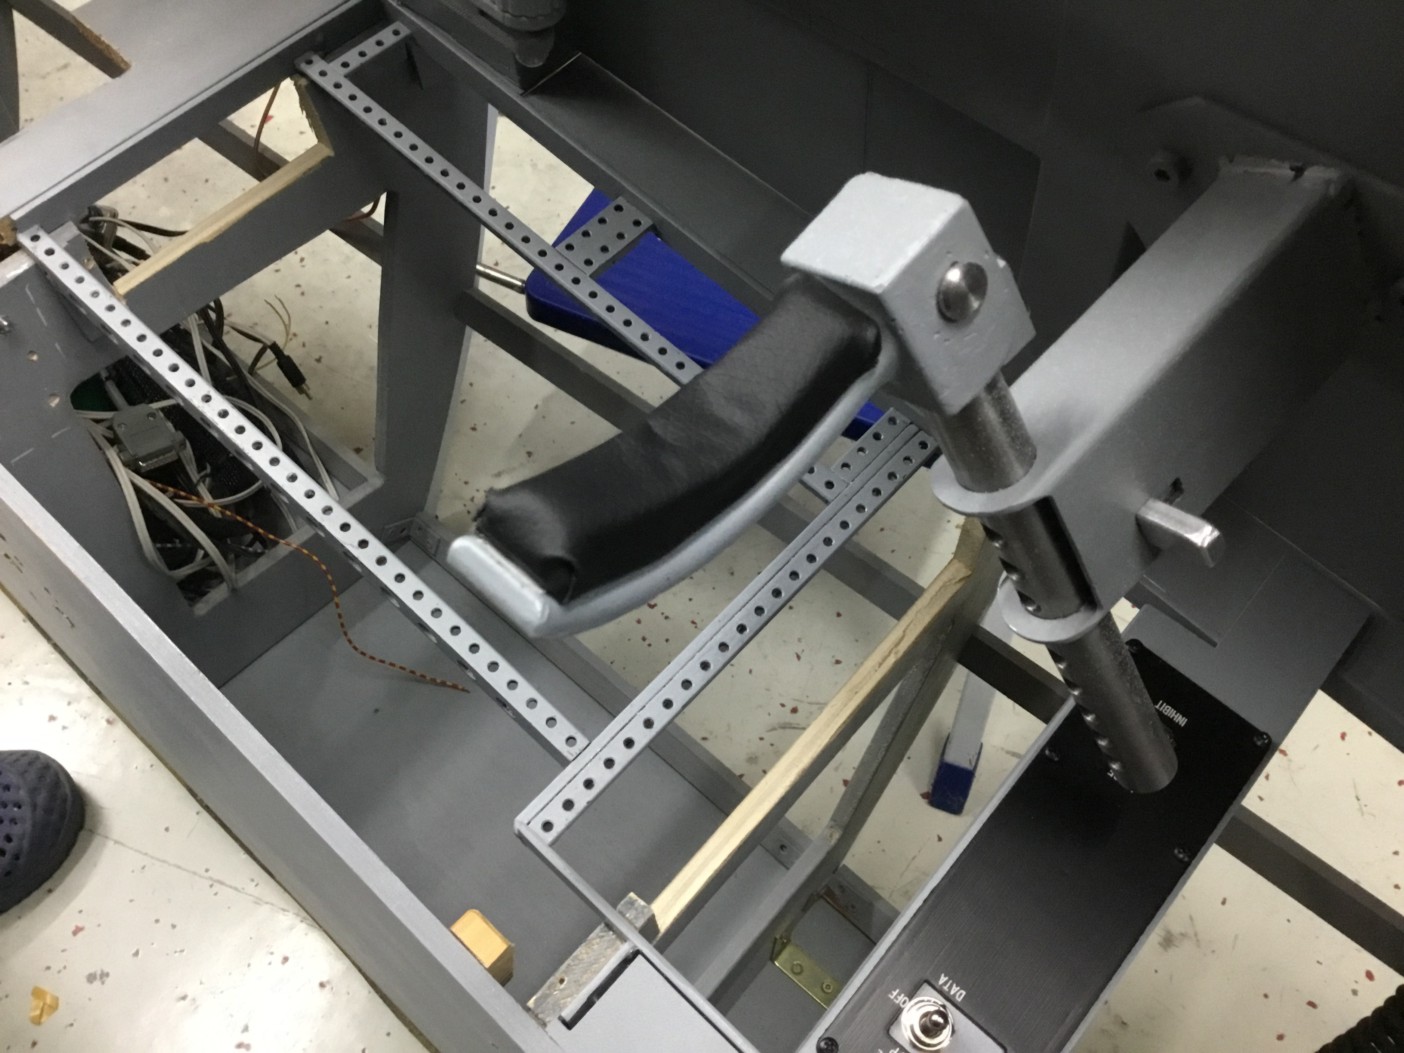
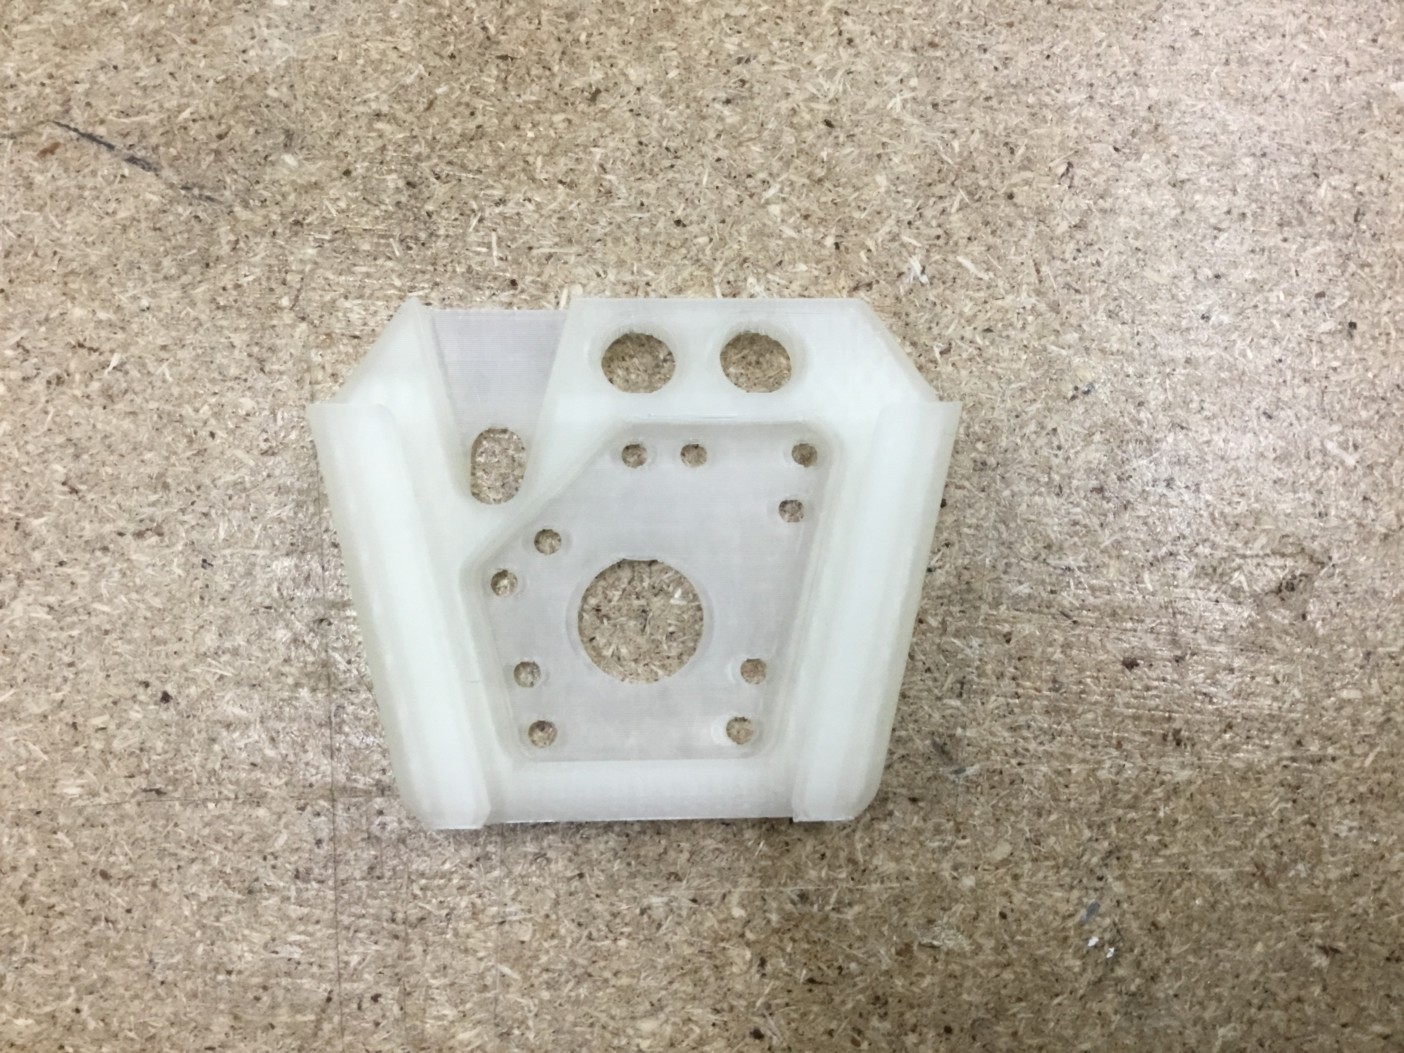
The CRU-93/P bracket for the oxygen mask can be mounted to the sidewalls when not in use.
So I designed and printed a replica of this holder.

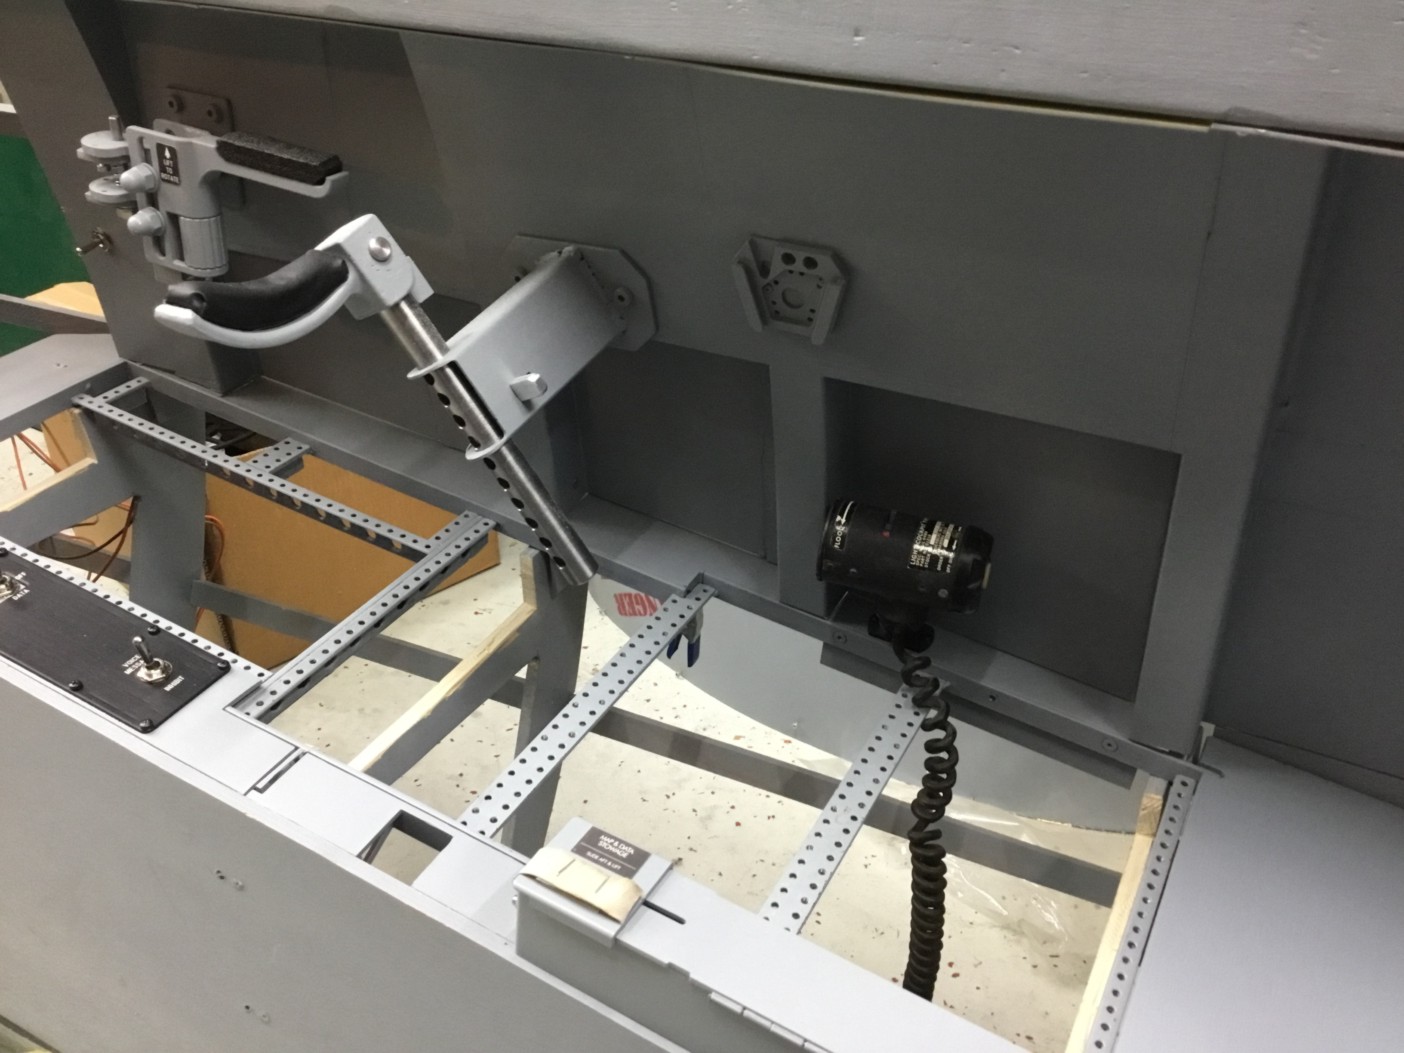
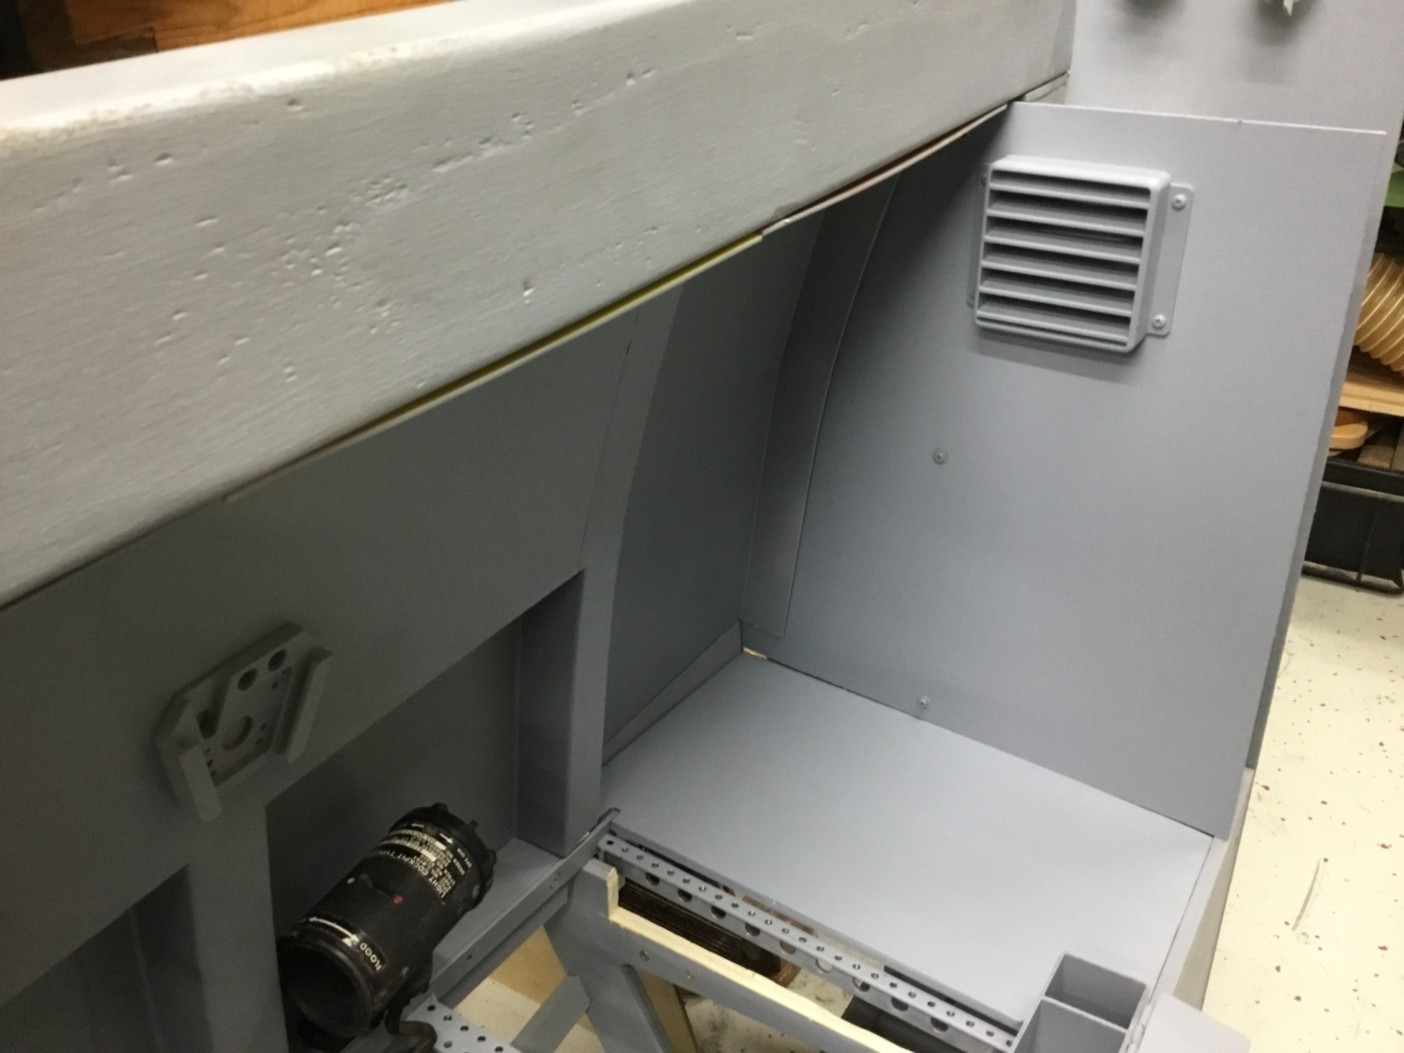
The space at the end of the console also got reworked.
A 12mm plywood board cut to size with steel plates on the back snaps onto the holders with magnets on them.

For the vertical end I took some 8mm hardboard, cut it to size and drilled a hole for the speaker that is mounted behind it.

Everything in place

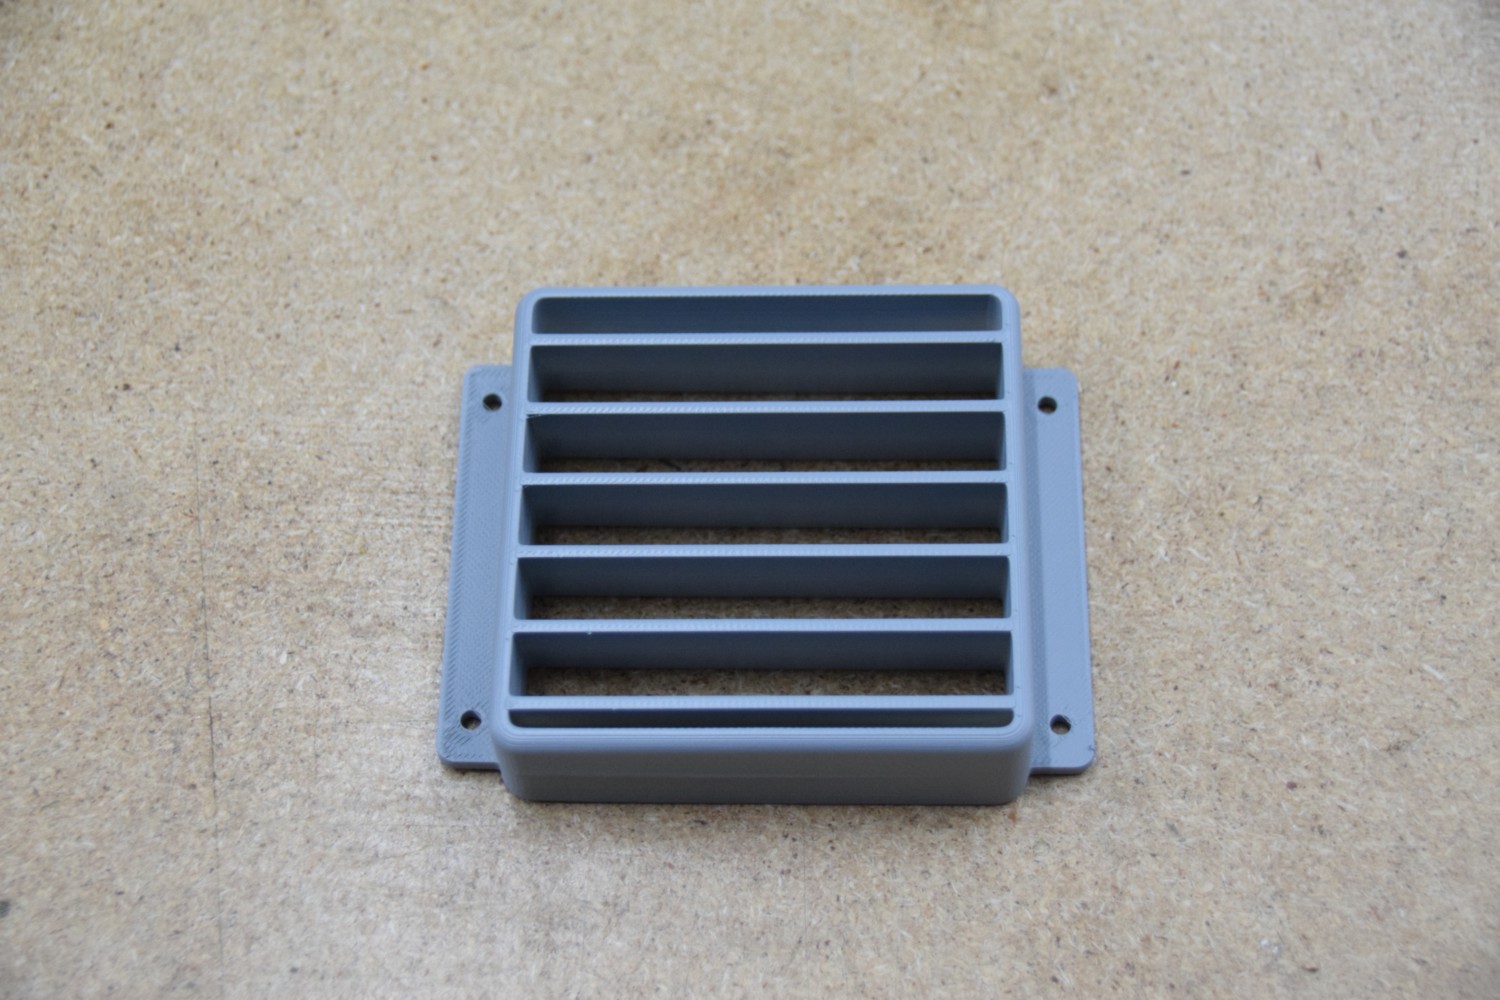
The speaker hole got covered with a 3d printed replica of the real air vent cover.
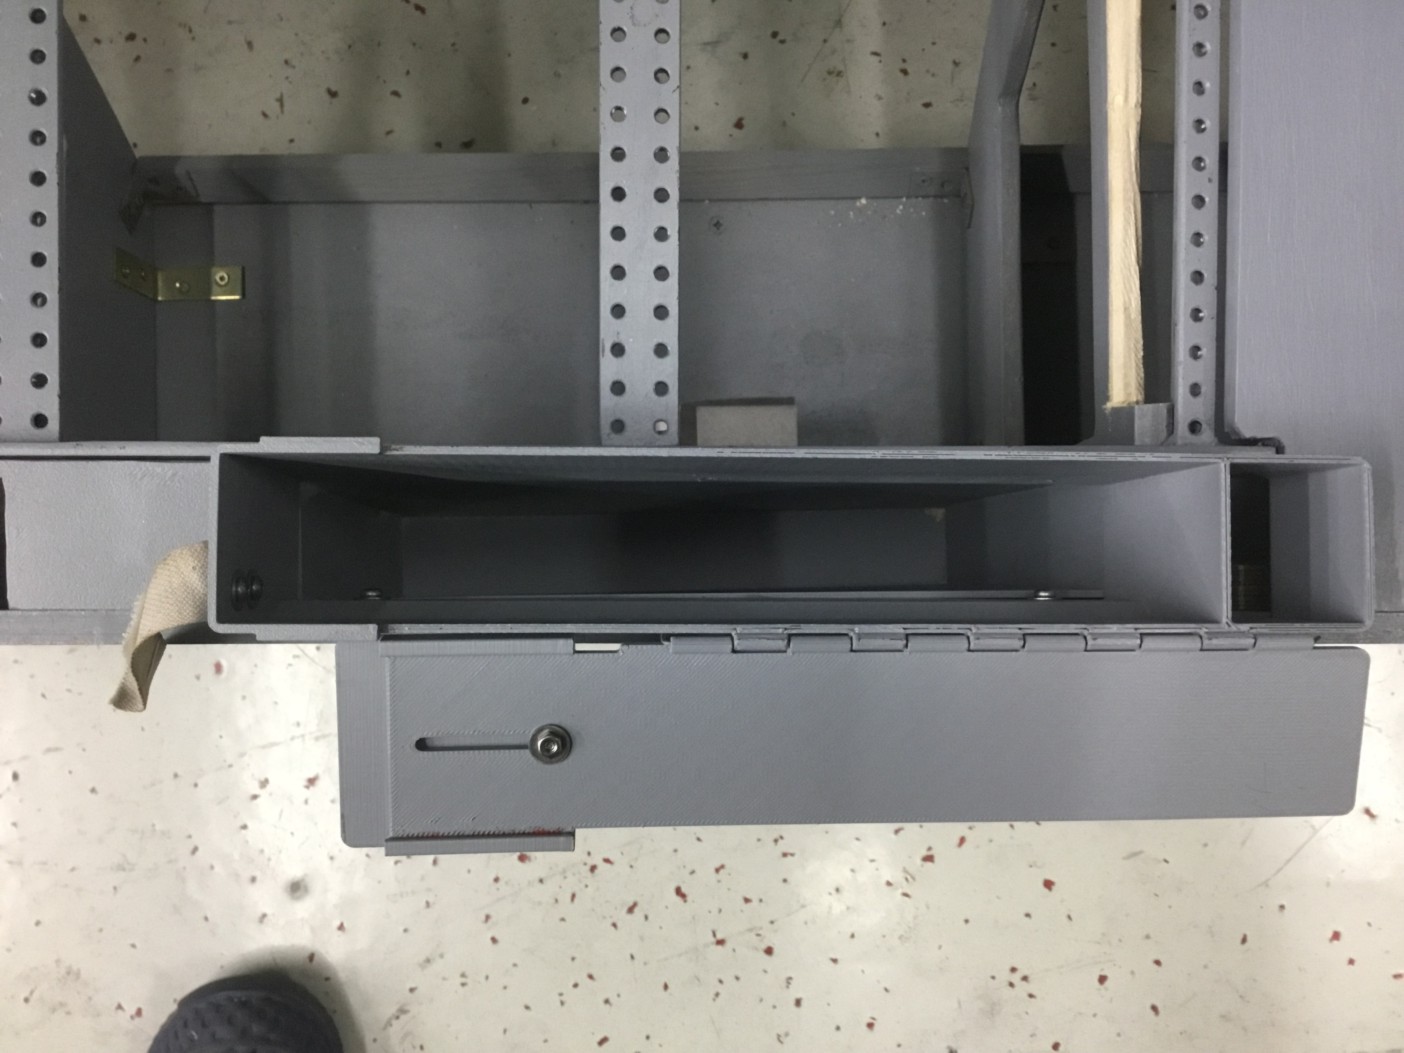
I printed the bottom part of the mapbox so now there’s really a place to hide some stuff 🙂
After a lot of work and time the right structure looks really really better now, compared to the old one 😉