A new RAUX console has been build
I though long about reworking the RightAUX because the old one worked ok – but one thing was really bothering me.
When I built V1 20 years ago there weren’t much correct dimension around and so I misaligned some things, which lead to having not enough room for the compass to be mounted.
PFLD and CautionPanel sat too high and if I kept it this way I would have had to mount the compass 2cm higher than needed.
For quite some time I was cool about that idea but finally decided to build it again.
This time I was going to do it in CAD first so everything would fit and this would give me the opportunity to let my CNC cut out the whole thing – which it did really well.
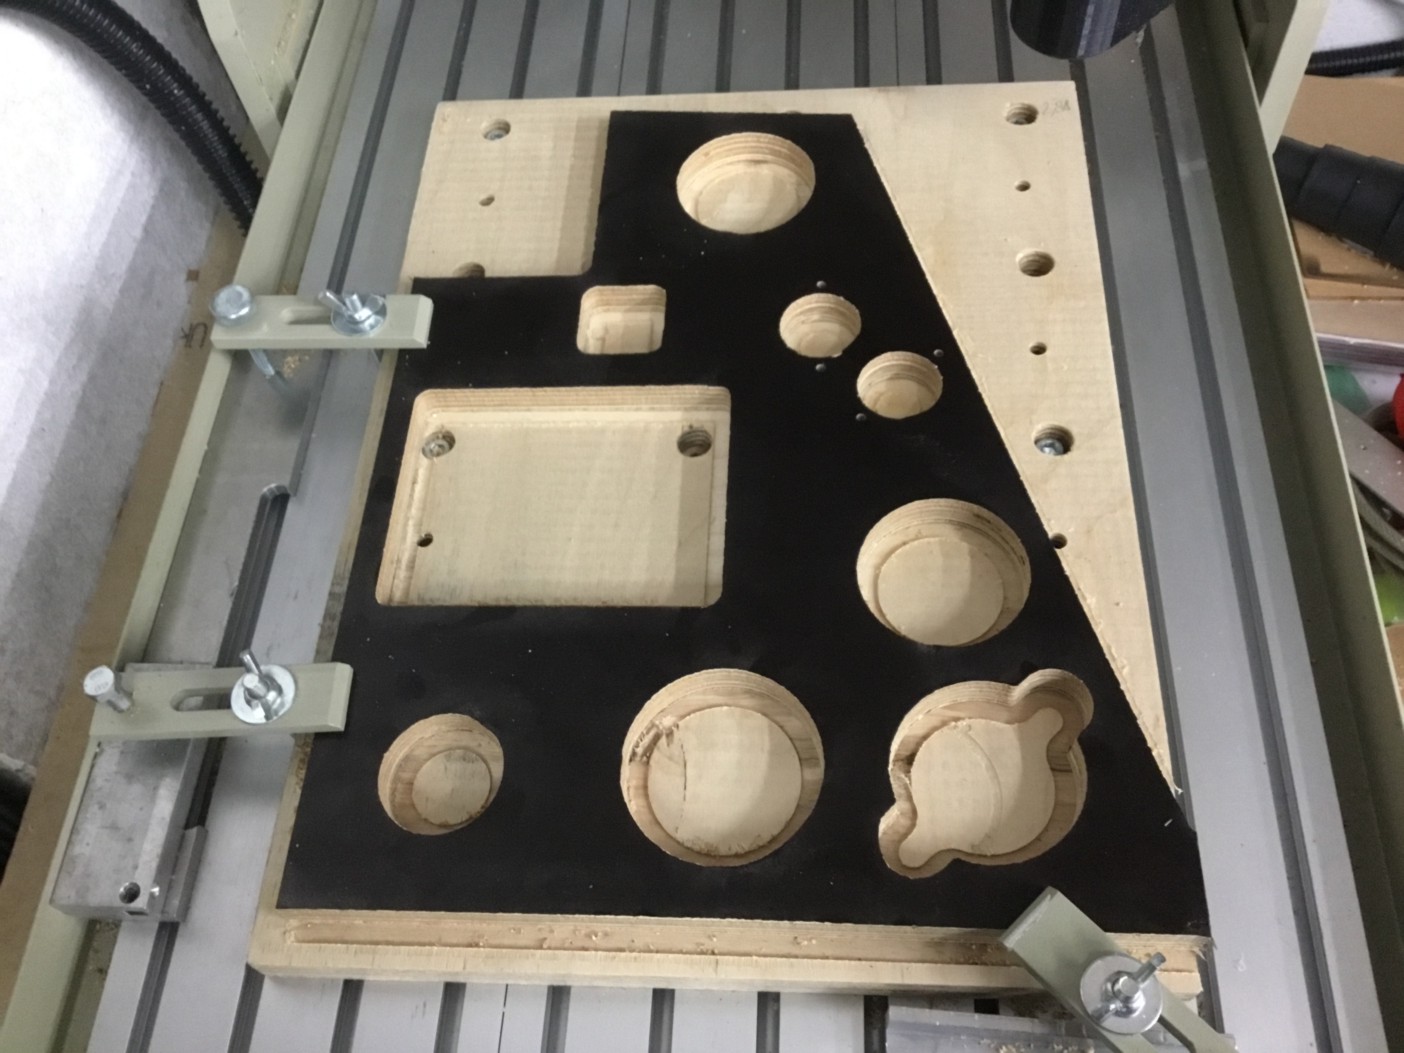
The only things left to do manually were cutting the angles on the bottom, top and compass cutout and paint everything.
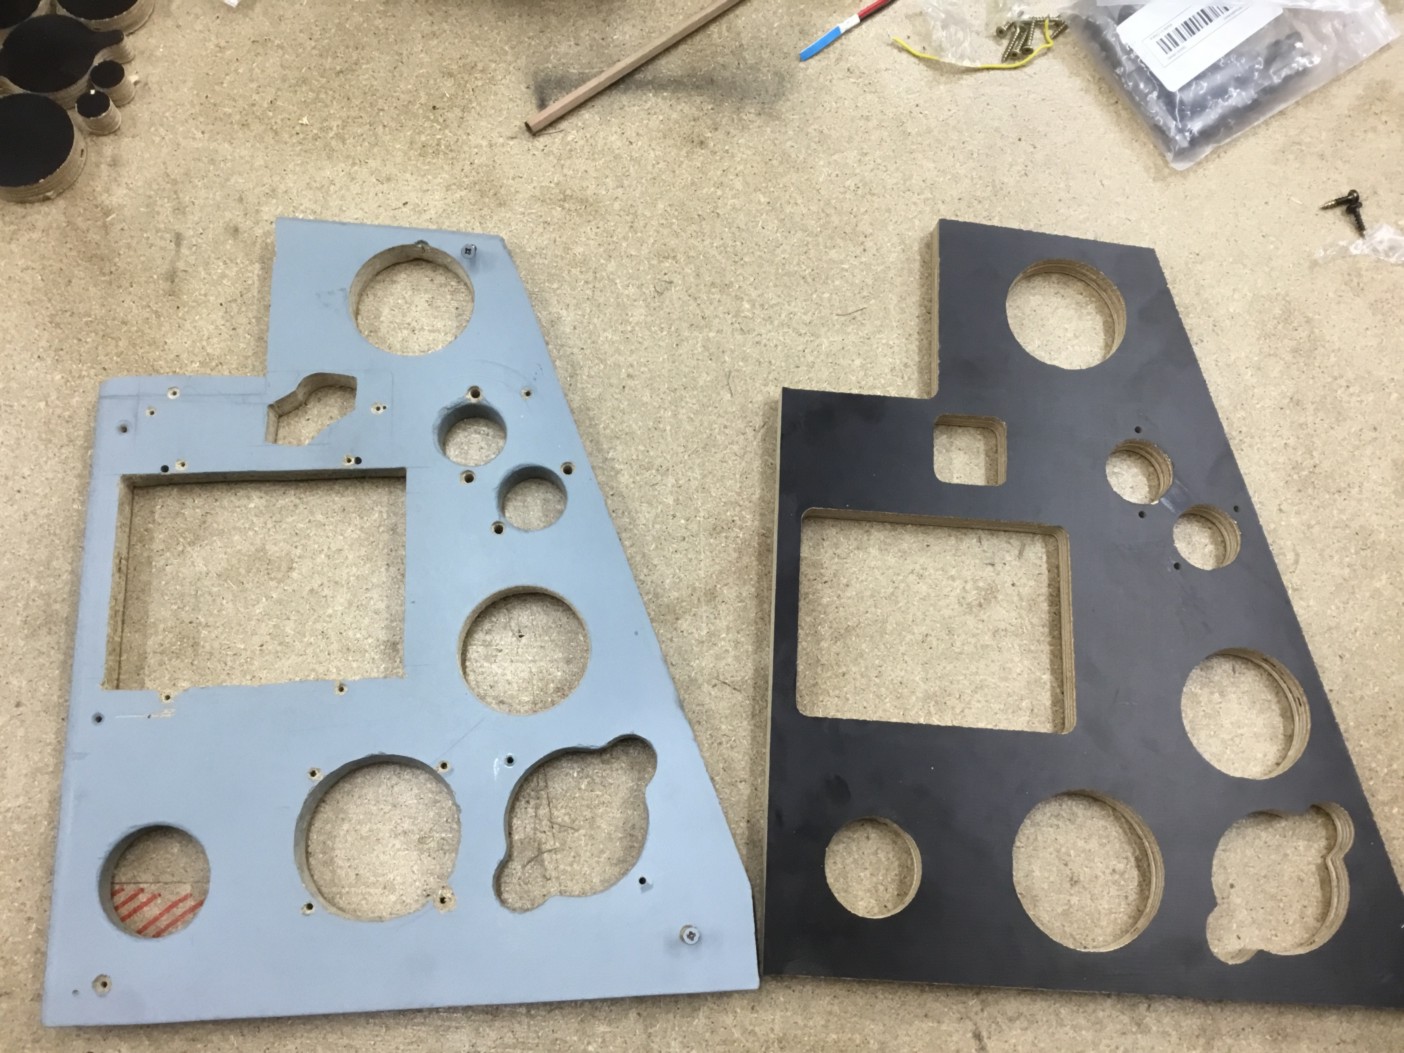
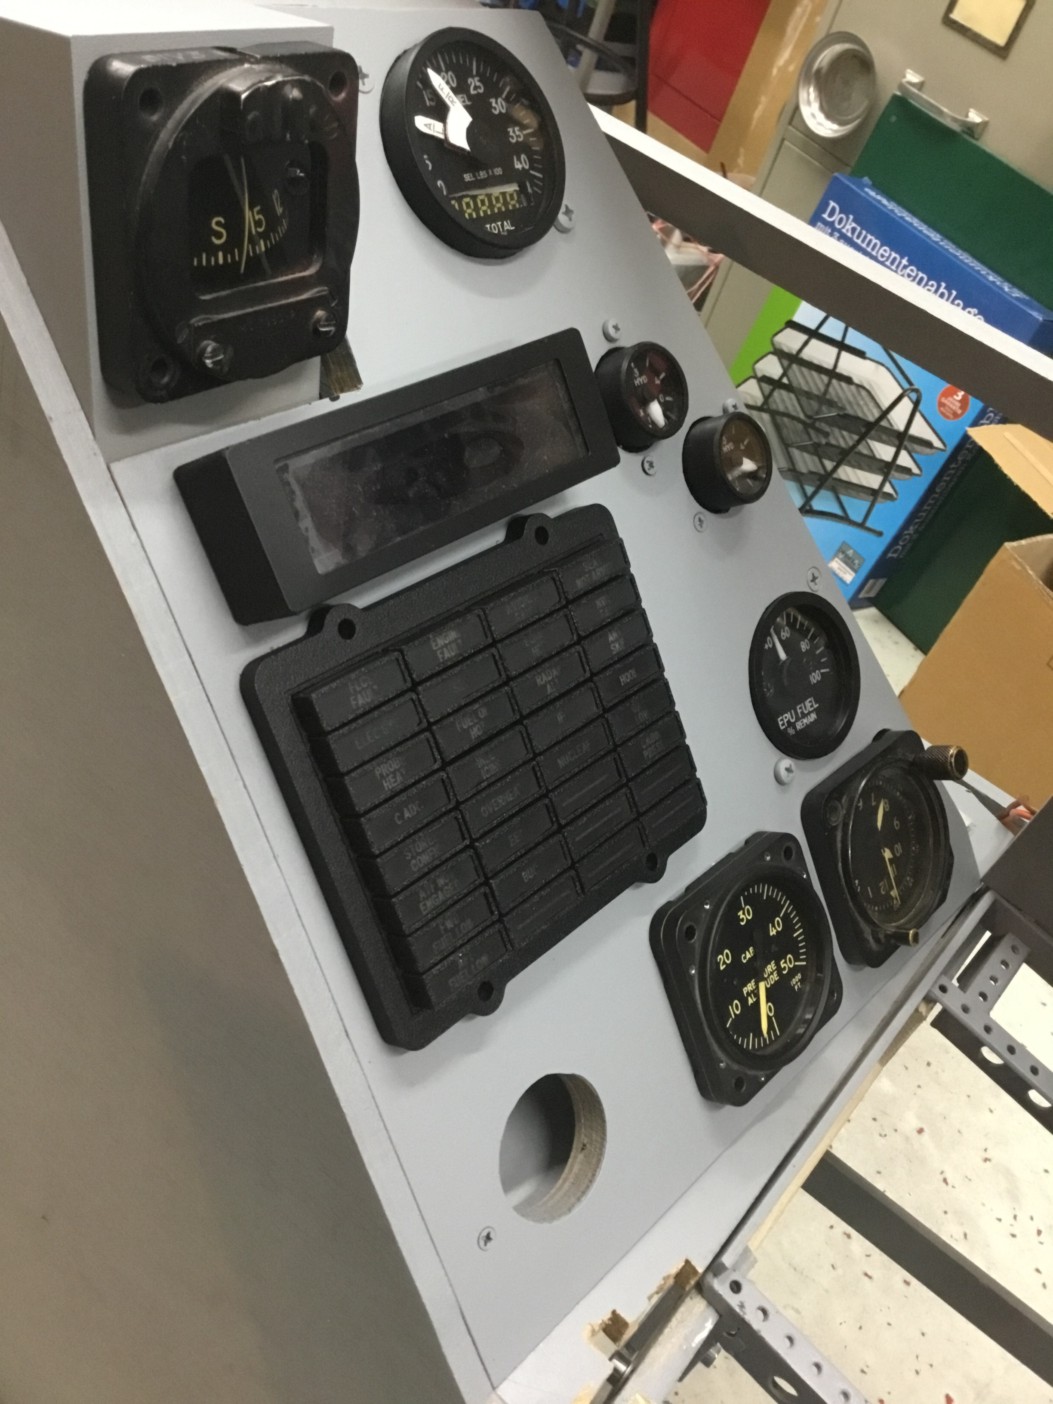
Here’s old and new version side by side.
The differences are very subtle but noticeable, if you know them.
The first fitting test – very satisfying.

Now it was time for some paint.

Then new console is made out of 12mm plywood whereas the old version is 18mm thick.
This fact left a gap at the top where the parts meet.

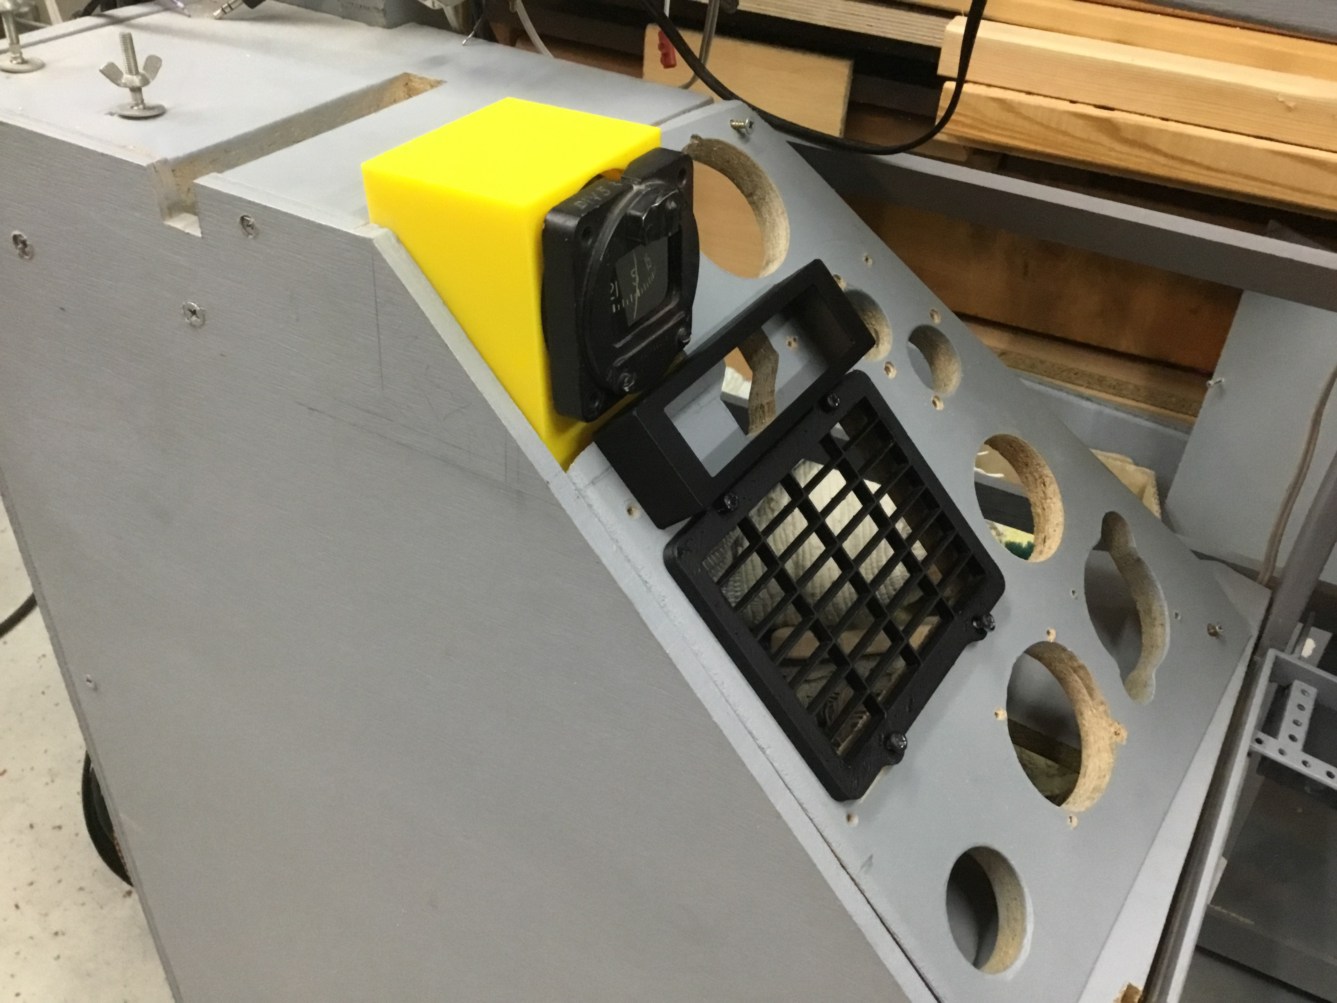
I took some measurements, and after some minutes in CAD the perfect spacer fell from the 3D printer’s heatbed 😉
It’s just nailed to the top of the frame and fits perfectly.
![]()
The old console was just screwed to the support frame at the bottom and top with wood screws, so this wasn’t holding really well and every time I had to remove it there was a chance that it won’t hold anymore.
For the new part I decided to design 3D printed mounting points.

After pressing in the heated inserts they were mounted to the frame.

This worked really well and mounting the RAUX is now really a breeze.
I’m pretty satisfied how the new console looks 🙂

The last part missing now was the sidewall for the RAUX.
Since the gap is just a bit too big to be printed as one part I decided to user some aluminium sheet metal.
It was the first time I worked with sheet metal, so excuse the rough working 😉
My first design included the forward part but I cut that off since it was quite in the way while mounting the wall.

After a bit of filing and some paint it looks quite pleasing.

After the first test mount I could also drill the hole for the small floodlight I built.

For the last gap I designed a small piece to fit and after printing, painting and mounting, the sidewall is done.

Very nice!!!!!
Thank you very much!