Because of Covid-19 and some holidays I found some time to work on the simrig again.
The baseframe already has been finished some days ago, so I could continue with the pedal holders.
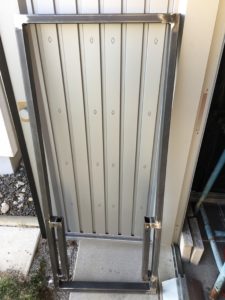
Each holder got 2 8mm threaded holes to mount the seat sliders, the pedalplate will be screwed to the sliders. I guess, I will use some damping material between sliders and holders to keep vibrations of the bass-shakers within the pedal assembly.
Next step were the sideframes of the seatmount.
Since I’m using a gamingchair instead a real carseat, I had to angle the whole chair, since gaming chairs are flatter than regular car seat. So I made the front of the sideframes 60mm higher than the back (on 400mm length) to make the sitting position more comfortable.
Also the 8mm holes can be seen, for the bolts mounting the assembly to the seat sliders.
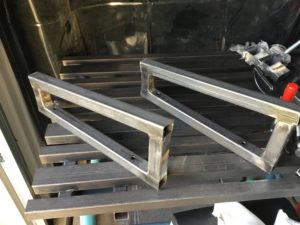
There are two crossbraces between the sideframes where I transferred the holes of the original gaming chair mountingplate to.
Nevertheless I also measured the distance between the holes to be on the safe side 🙂
To keep the crossbraces the right distance apart (and all the mounting holes aligned) I decided to spot weld the backbrace to the sideframes first.
After some cooldown the assembly and the frontbrace got screwed to the seat and the frontbrace has been clamped to the assembly, so it couldn’t move anymore. Then the whole assembly got removed from the seat in one piece. This way the position of the frontbrace and therefore all the mounting holes was 100% perfect and I could weld everything together.
I also cut the framebraces to hold the seatsliders and drilled and threaded the holes for the sliders – everything fit together perfectly.
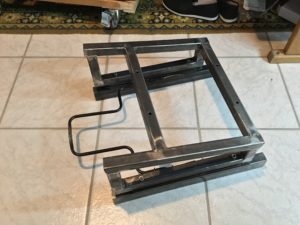
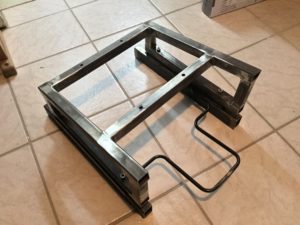
Last step for the moment was welding the seatmount to the baseframe.
I already had prepared the 3rd crossbrace of the frame some time ago. All that was left was positioning the seatmount right in the middle of the frame and to make sure, that both the end and middle crossbraces touched the seatmount-braces. Weld everything together and you’re done 🙂
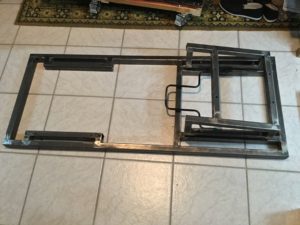
The assembly on the picture above weighs exactly 20kg – I guess including the seat, pedals, wheel, bass-shaker and the rest of the frame the whole rig will be about 40-50kg.
Of course I had to take a picture of all the parts put together (except the pedals, they are still mounted on the old rig) 🙂
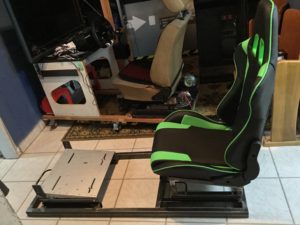
What’s left to do?
- of course both vertical poles to mount the wheelholders
- all open ends of the tubing should be closed and welded
- for the casters 6 mounting plates will have to be drilled, sanded and welded to the frame
- paint all bare metal parts
- think about the best way to mount the monitor
Conclusion up till now:
- Even a super cheap EUR 99,- flux core welder will make you able to get good enough results when you get some practice in. 🙂
- Having a complete 3D model in CAD (I’m using FreeCAD) helps _A_LOT_ during fabrication. I guess, with every minute spent in CAD I saved about 5-10 minutes measuring/calculation in the workshop.
- An understanding wife while spending 1-2 hours a day in the workshop – PRICELESS! (THANK YOU, Maria!!!)
