Construction of the panels is completely done by hand and I’m using the same sandwich technique like the real panels:
- The base is a mountingplate where switches and buttons will be mounted
- A lightplate made from clear acrylic and with the lettering on it
As an example I want to document the construction of the MPO panel.
The 3 basic parts of the panel (from left)
- A laserprint of the panels
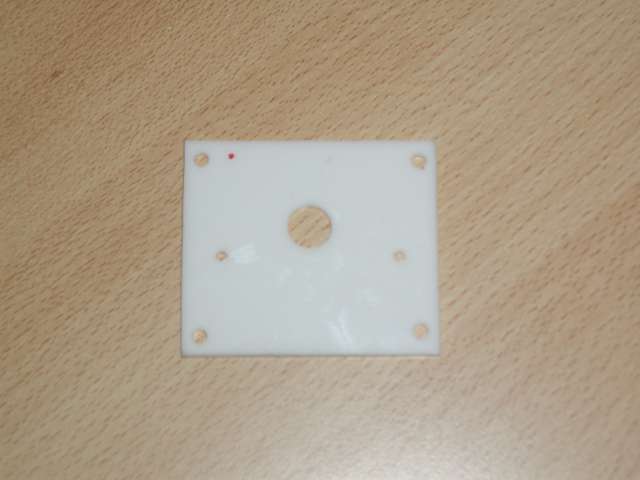
- The mounting plate where the switch is going to be mounted
- The lightplate (5mm acrylglass)
- The standoffs for the mounting of the connectors
- 3mm screws

To optimize the drilling of the parts I fix them with doublesided tape. This way I can drill both plates at once.

Mounting- und Lightplate are held together with 3mm screws. The hole for the switch is marked with a 1.5mm drill.

The holes for the switch and for the mounting screws (to mount the panel on the console) drilled:
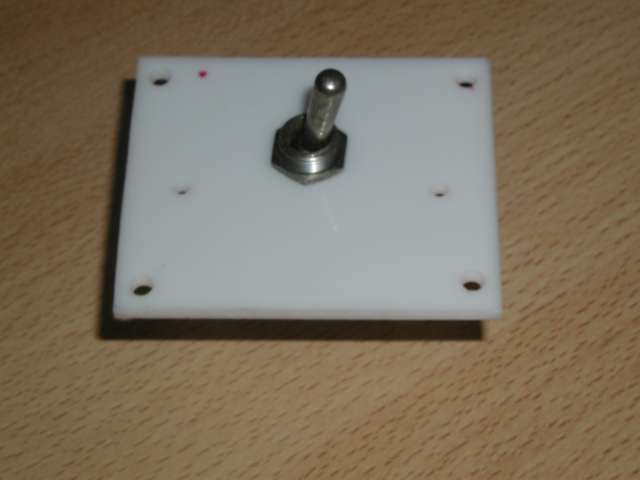
Mounting the switch…
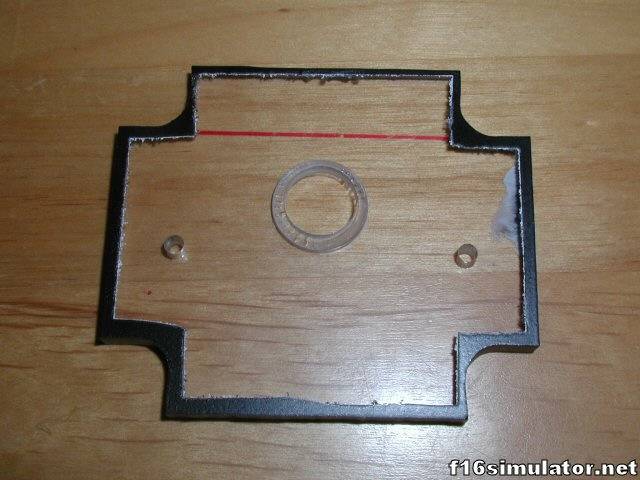
On the backside of the lightplate a small gap is milled with a 17-19mm wood drill (size depending on the switches’ nut). This gap will make sure, that the lightplate will lay tight on the mounting plate:


From the front the hole (according to the switches diameter, it’s 12mm on the big ones) will be drilled through the lightplate.

If we have been working exactly enough, everything should fit exactly together.

The edges of the lightplate will be cut, so the panel can be mounted to the console.

The sidewalls of the lightplate will be painted glossy white first, so the backlight can be reflected. Once done the sidewalls will be painted matte black.
Here you can see the masked front side, the edges are left out to get black, too.

After removing the masking tape
The upper side of the lighplate gets sanded, so the light will spread easier later.

Once the paint has dried, the printout of the lettering is glued to the top of the lightplate.
Here are the needed tools:

After glueing the holes are cut with a scalpel from the backside.
The holes for the 3mm holes don’t have to be too exact, they are going to be hidden by the screws.

Any fitting piece of plastic is used for mounting the connector, where the cabling to the GammaRay will start.

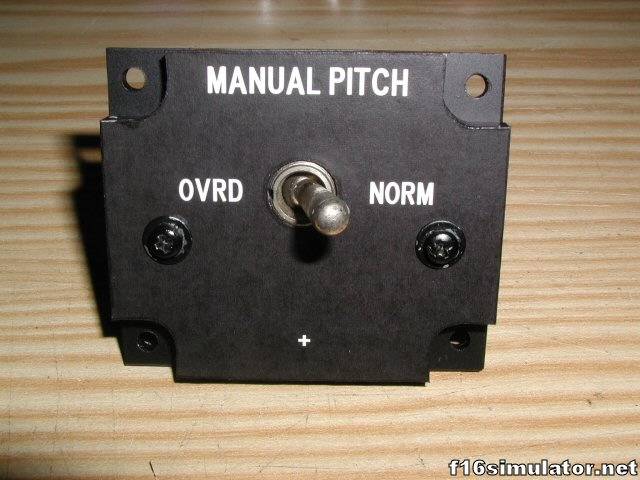
The finished panel: